

The Swollen Splashback
A brand-new Dorchester kitchen, barely a year old, already swelling at the seams — and why we trimmed it rather than tore it out.
Picture a kitchen that’s barely a year old. Smart, clean, marble-effect splashback and matching compact laminate worktops - the lot. Then one corner starts to look… wrong. The crisp edge by the worktop has gone soft and lumpy, the joint has lifted, and what used to be a sharp and crisp line is now a swollen, blistered mess. On a kitchen that new, it’s about the last thing you expect to be looking at.
That is exactly what greeted us on this job in Dorchester. And the cause was no great mystery once we got up close. The splashback was made of MDF — and MDF, sat in the hottest, steamiest, wettest corner of the house with water quietly finding its way past a poorly sealed joint, behaves precisely how you would fear. It drinks. It swells. It blisters. The only real surprise was how quickly it had happened.
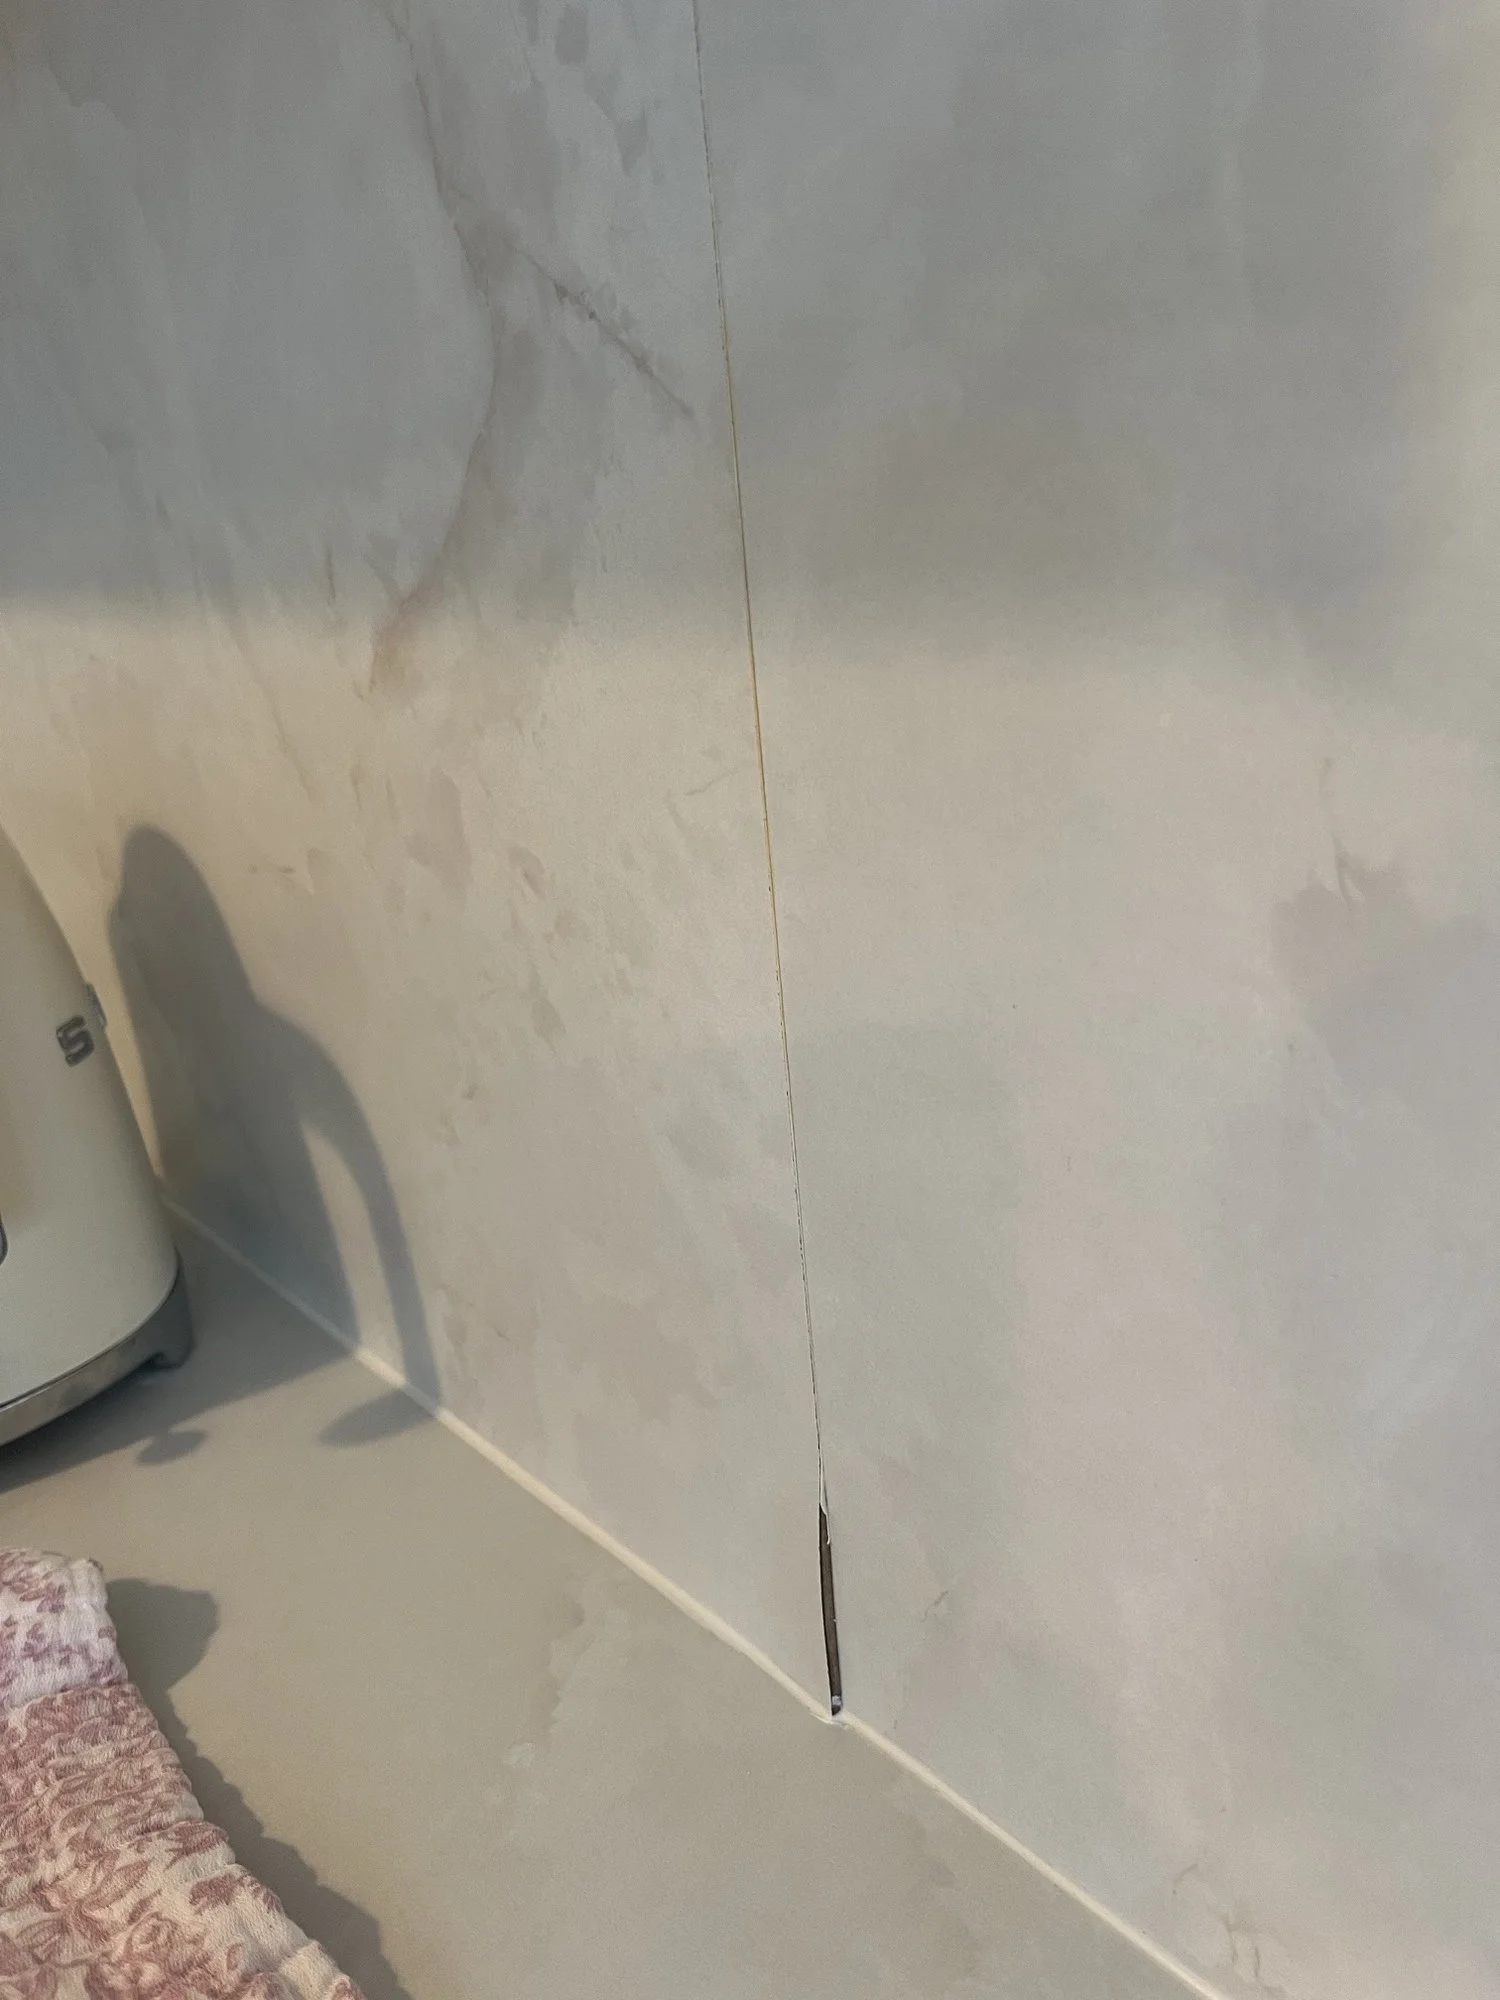
The splashback in question — a handsome marble-effect board, let down by a joint that had started letting water in.
MDF In A Kitchen? Brave.
Let’s be fair to MDF for a moment. It’s a brilliant material — stable, smooth, comes in large size sheets and can be cut to any shape. We use it ourselves at UIL all the time. But it has one well-known weakness, and it’s a big one: water. MDF is essentially wood fibres (like dust!) bound with resin and pressed into board. Leave an unsealed edge exposed to moisture and it soaks water up like a sponge, swelling into a soft, crumbly pulp that never recovers.
Which makes a kitchen splashback — sitting in the one zone of your home that is forever hot, steamy and splashed — about the most demanding place you could ask MDF to live. It can be done, but only if every cut edge is properly primed and sealed and every joint is genuinely watertight. On this kitchen, that hadn’t happened. Water had found a single weak point at the joint, crept into the bare edge behind it, and the board did the rest. A year of kettles, cooking and steam had quietly finished the job.
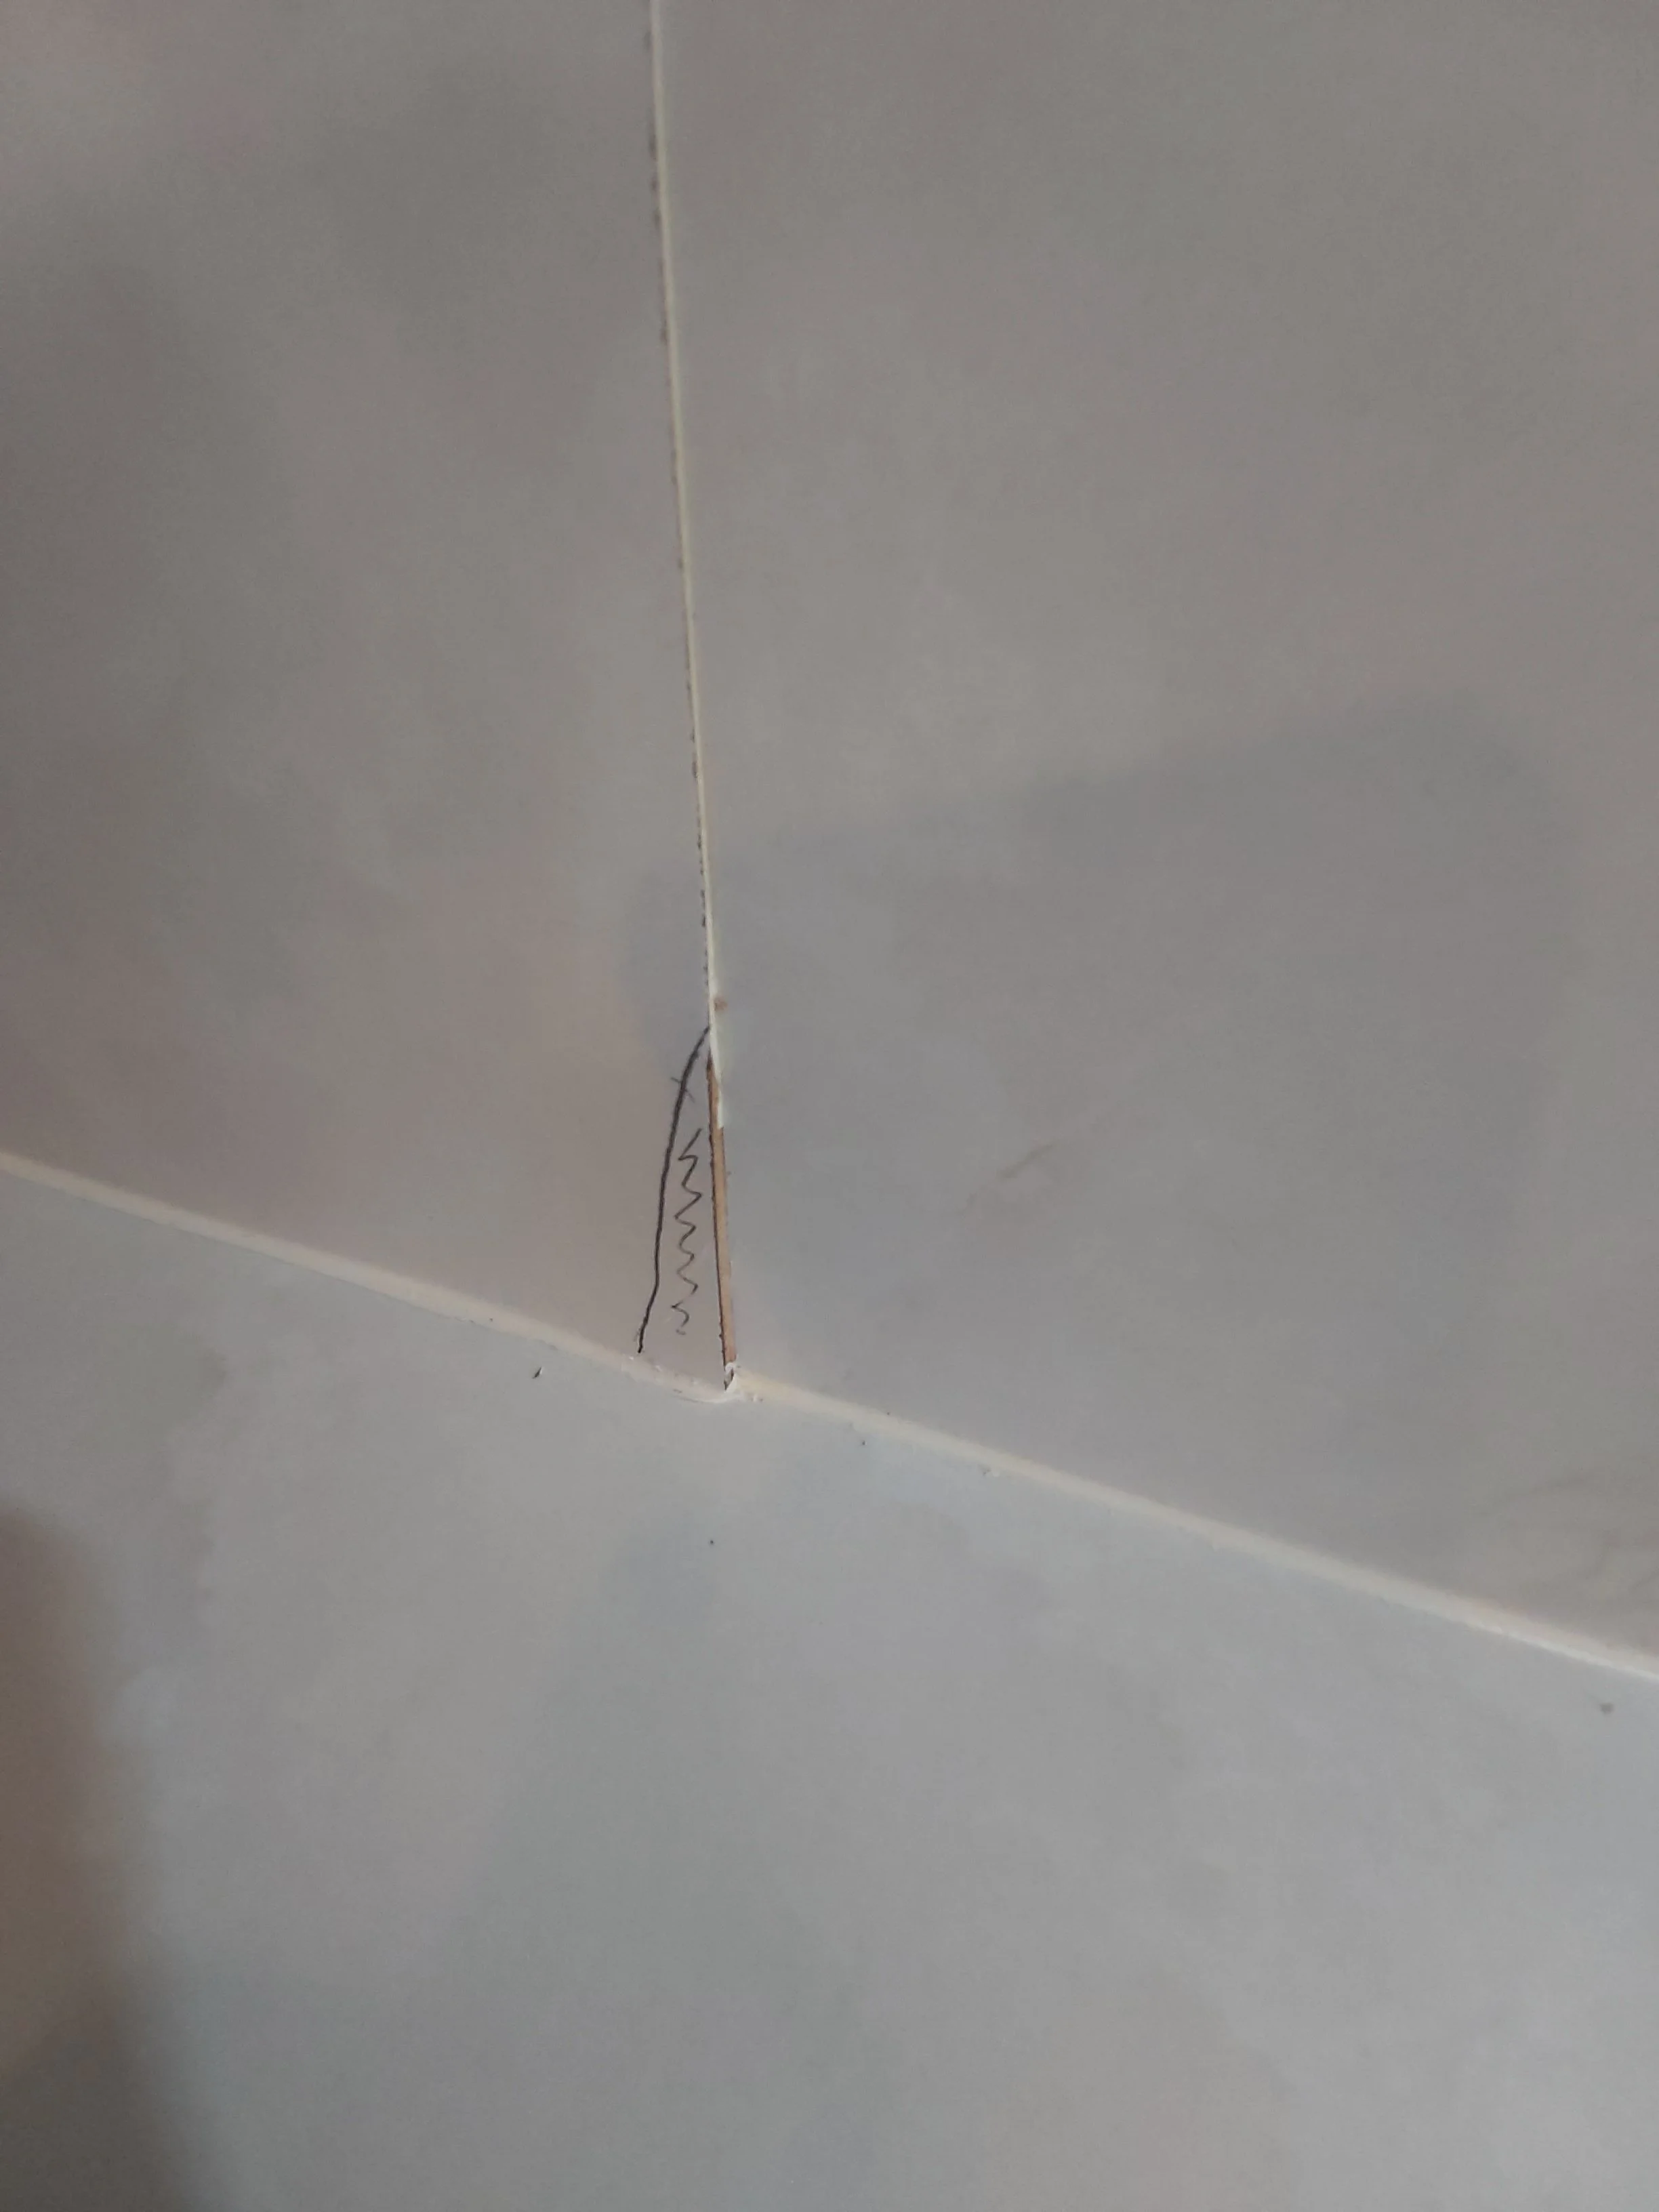
Marking up the damage. The swollen, water-blown section is pencilled off, ready to be cut away cleanly.
Repair, Don’t Replace
Here is where plenty of outfits would reach for the obvious answer: rip the whole splashback off and start again. It’s the easy quote. It is also expensive, disruptive, wasteful, and — on a kitchen barely twelve months old — wildly over the top. You’d be tearing out a wall of perfectly good board to deal with damage roughly the size of a 50 pence piece.
The UIL approach is the opposite, and it’s where the upcycling in our name does some quiet work. Rather than replace, we repair — and we make the repair look deliberate. We cut out only the swollen, water-damaged section, back to clean, sound material. Those freshly exposed edges are then primed and sealed with a shellac-based primer-sealer such as Zinsser B.I.N ready for the next stage. And in place of the damaged joint we introduce a neat trim — cut, fitted and finished so it reads as a design detail that was always meant to be there to join the two panels from the beginning, not a patch hiding a problem.
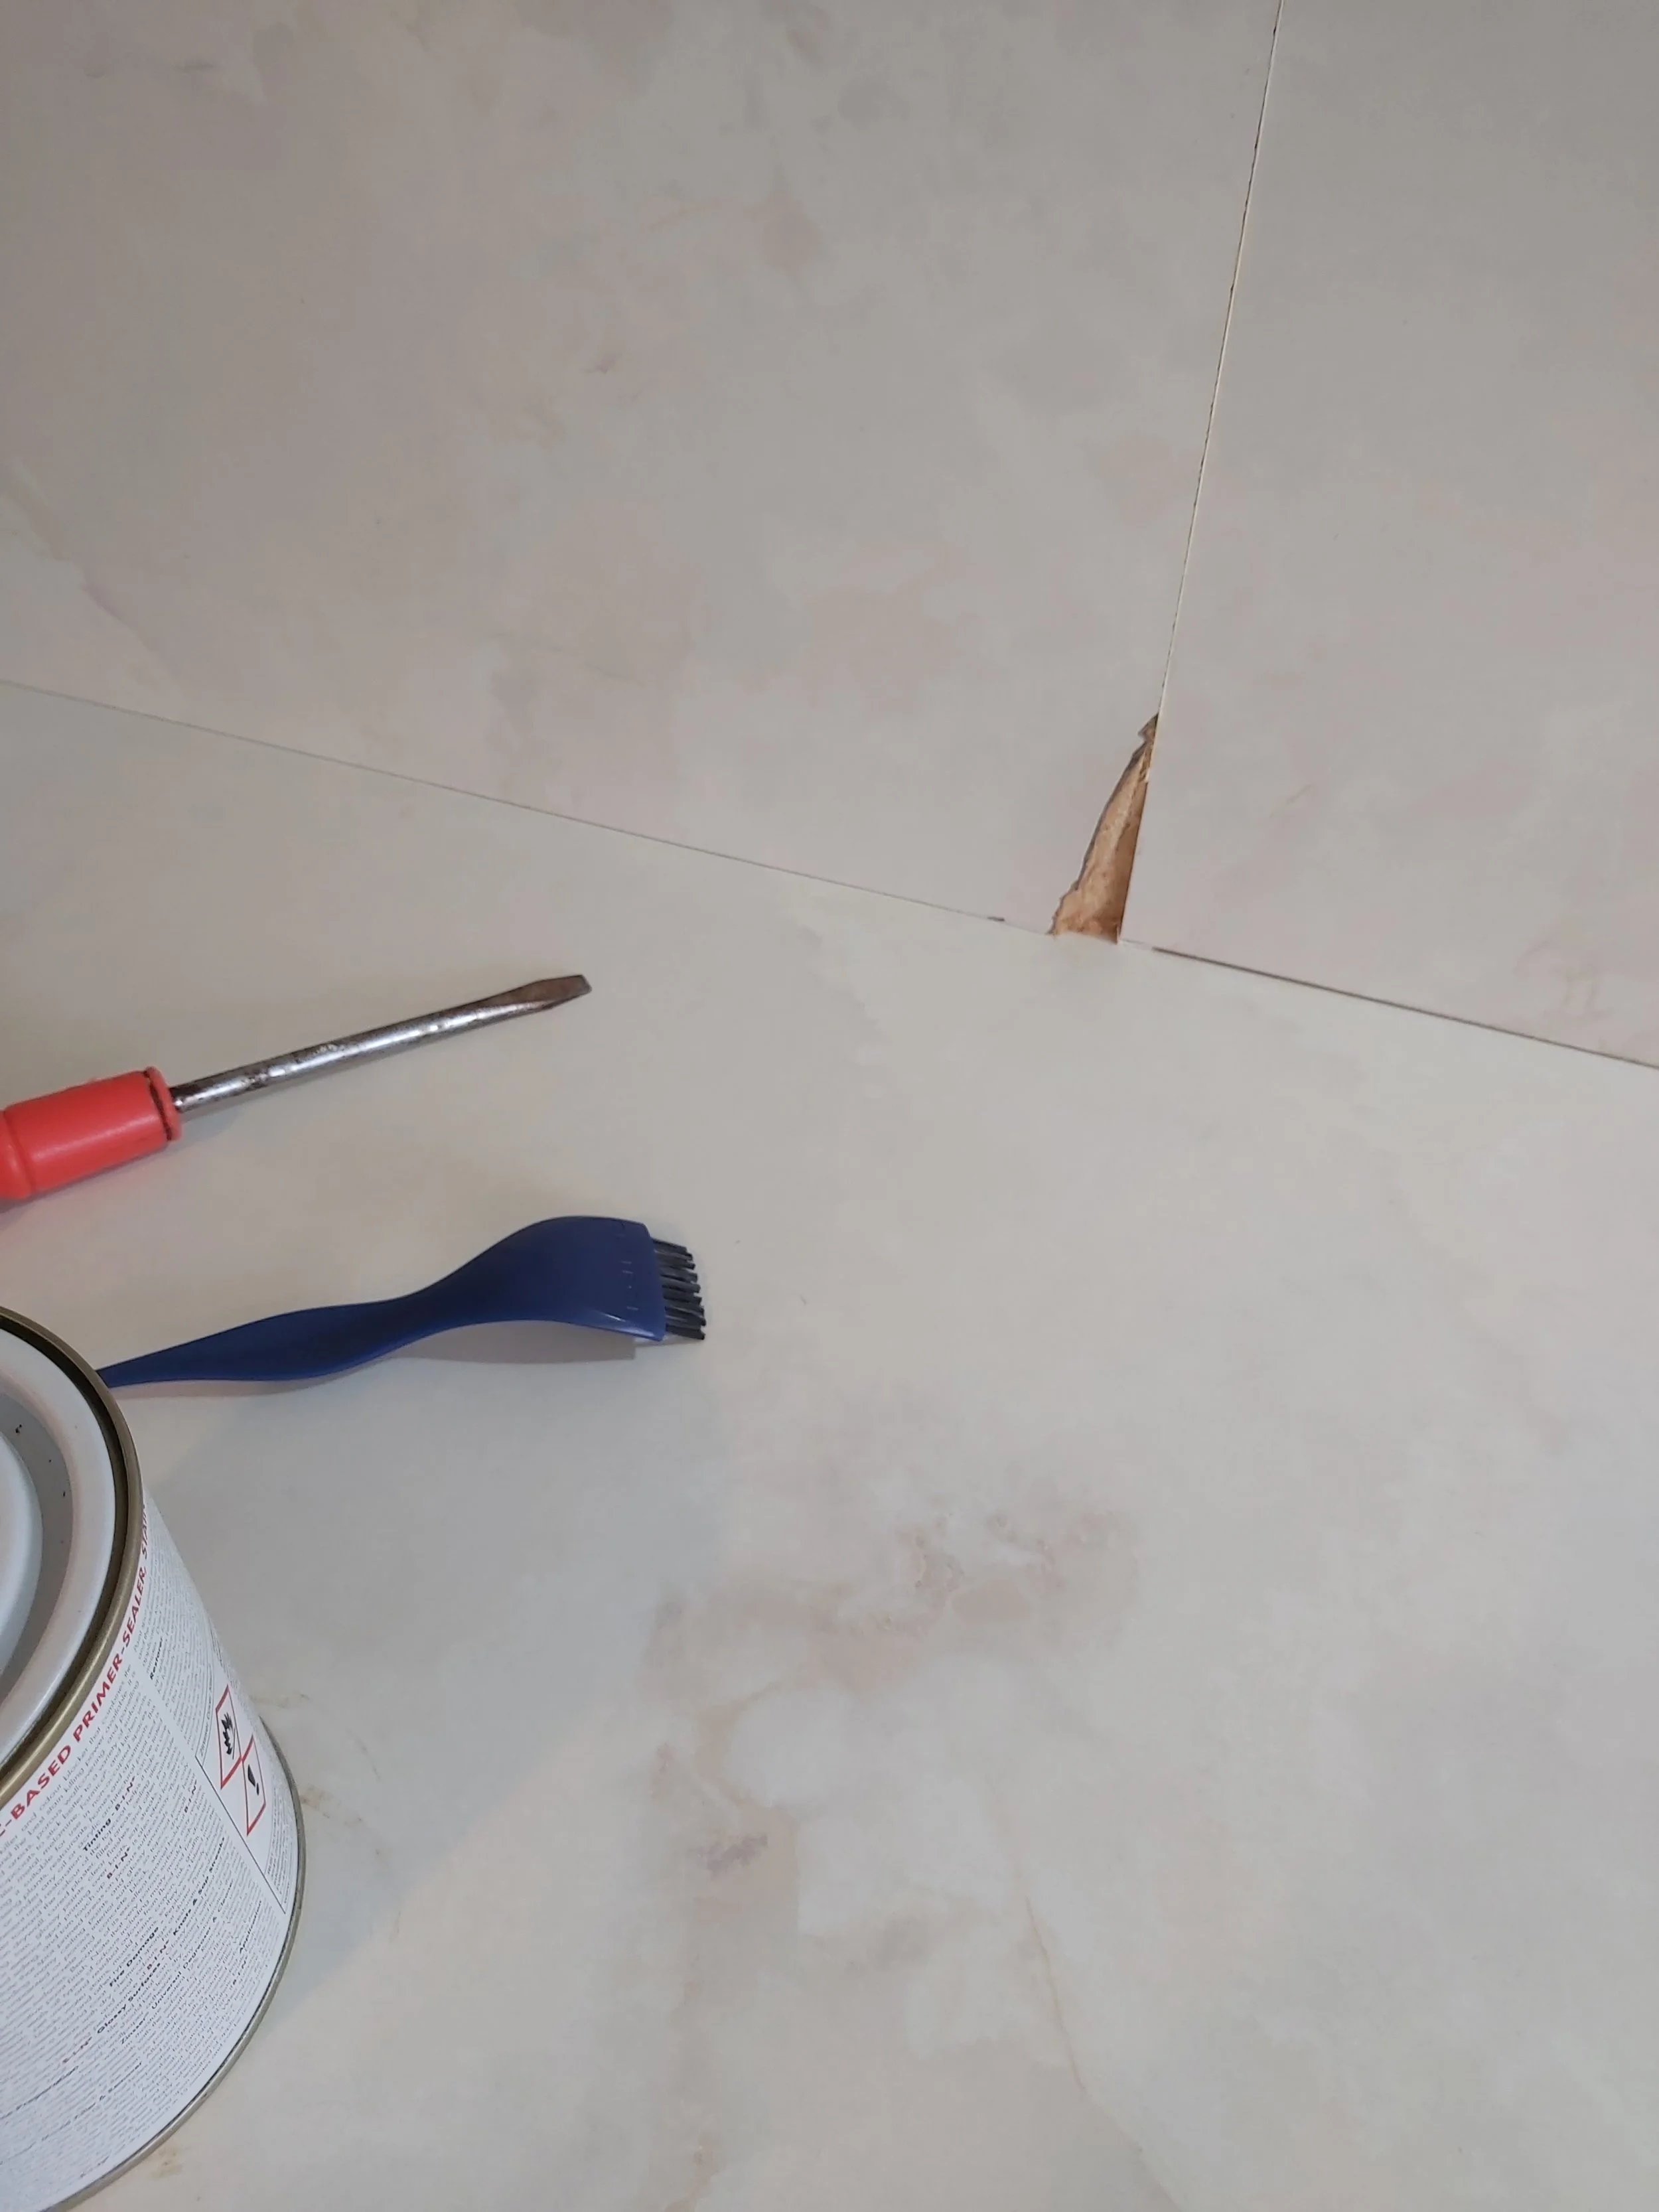
Damaged fluffy material cut out carefully.
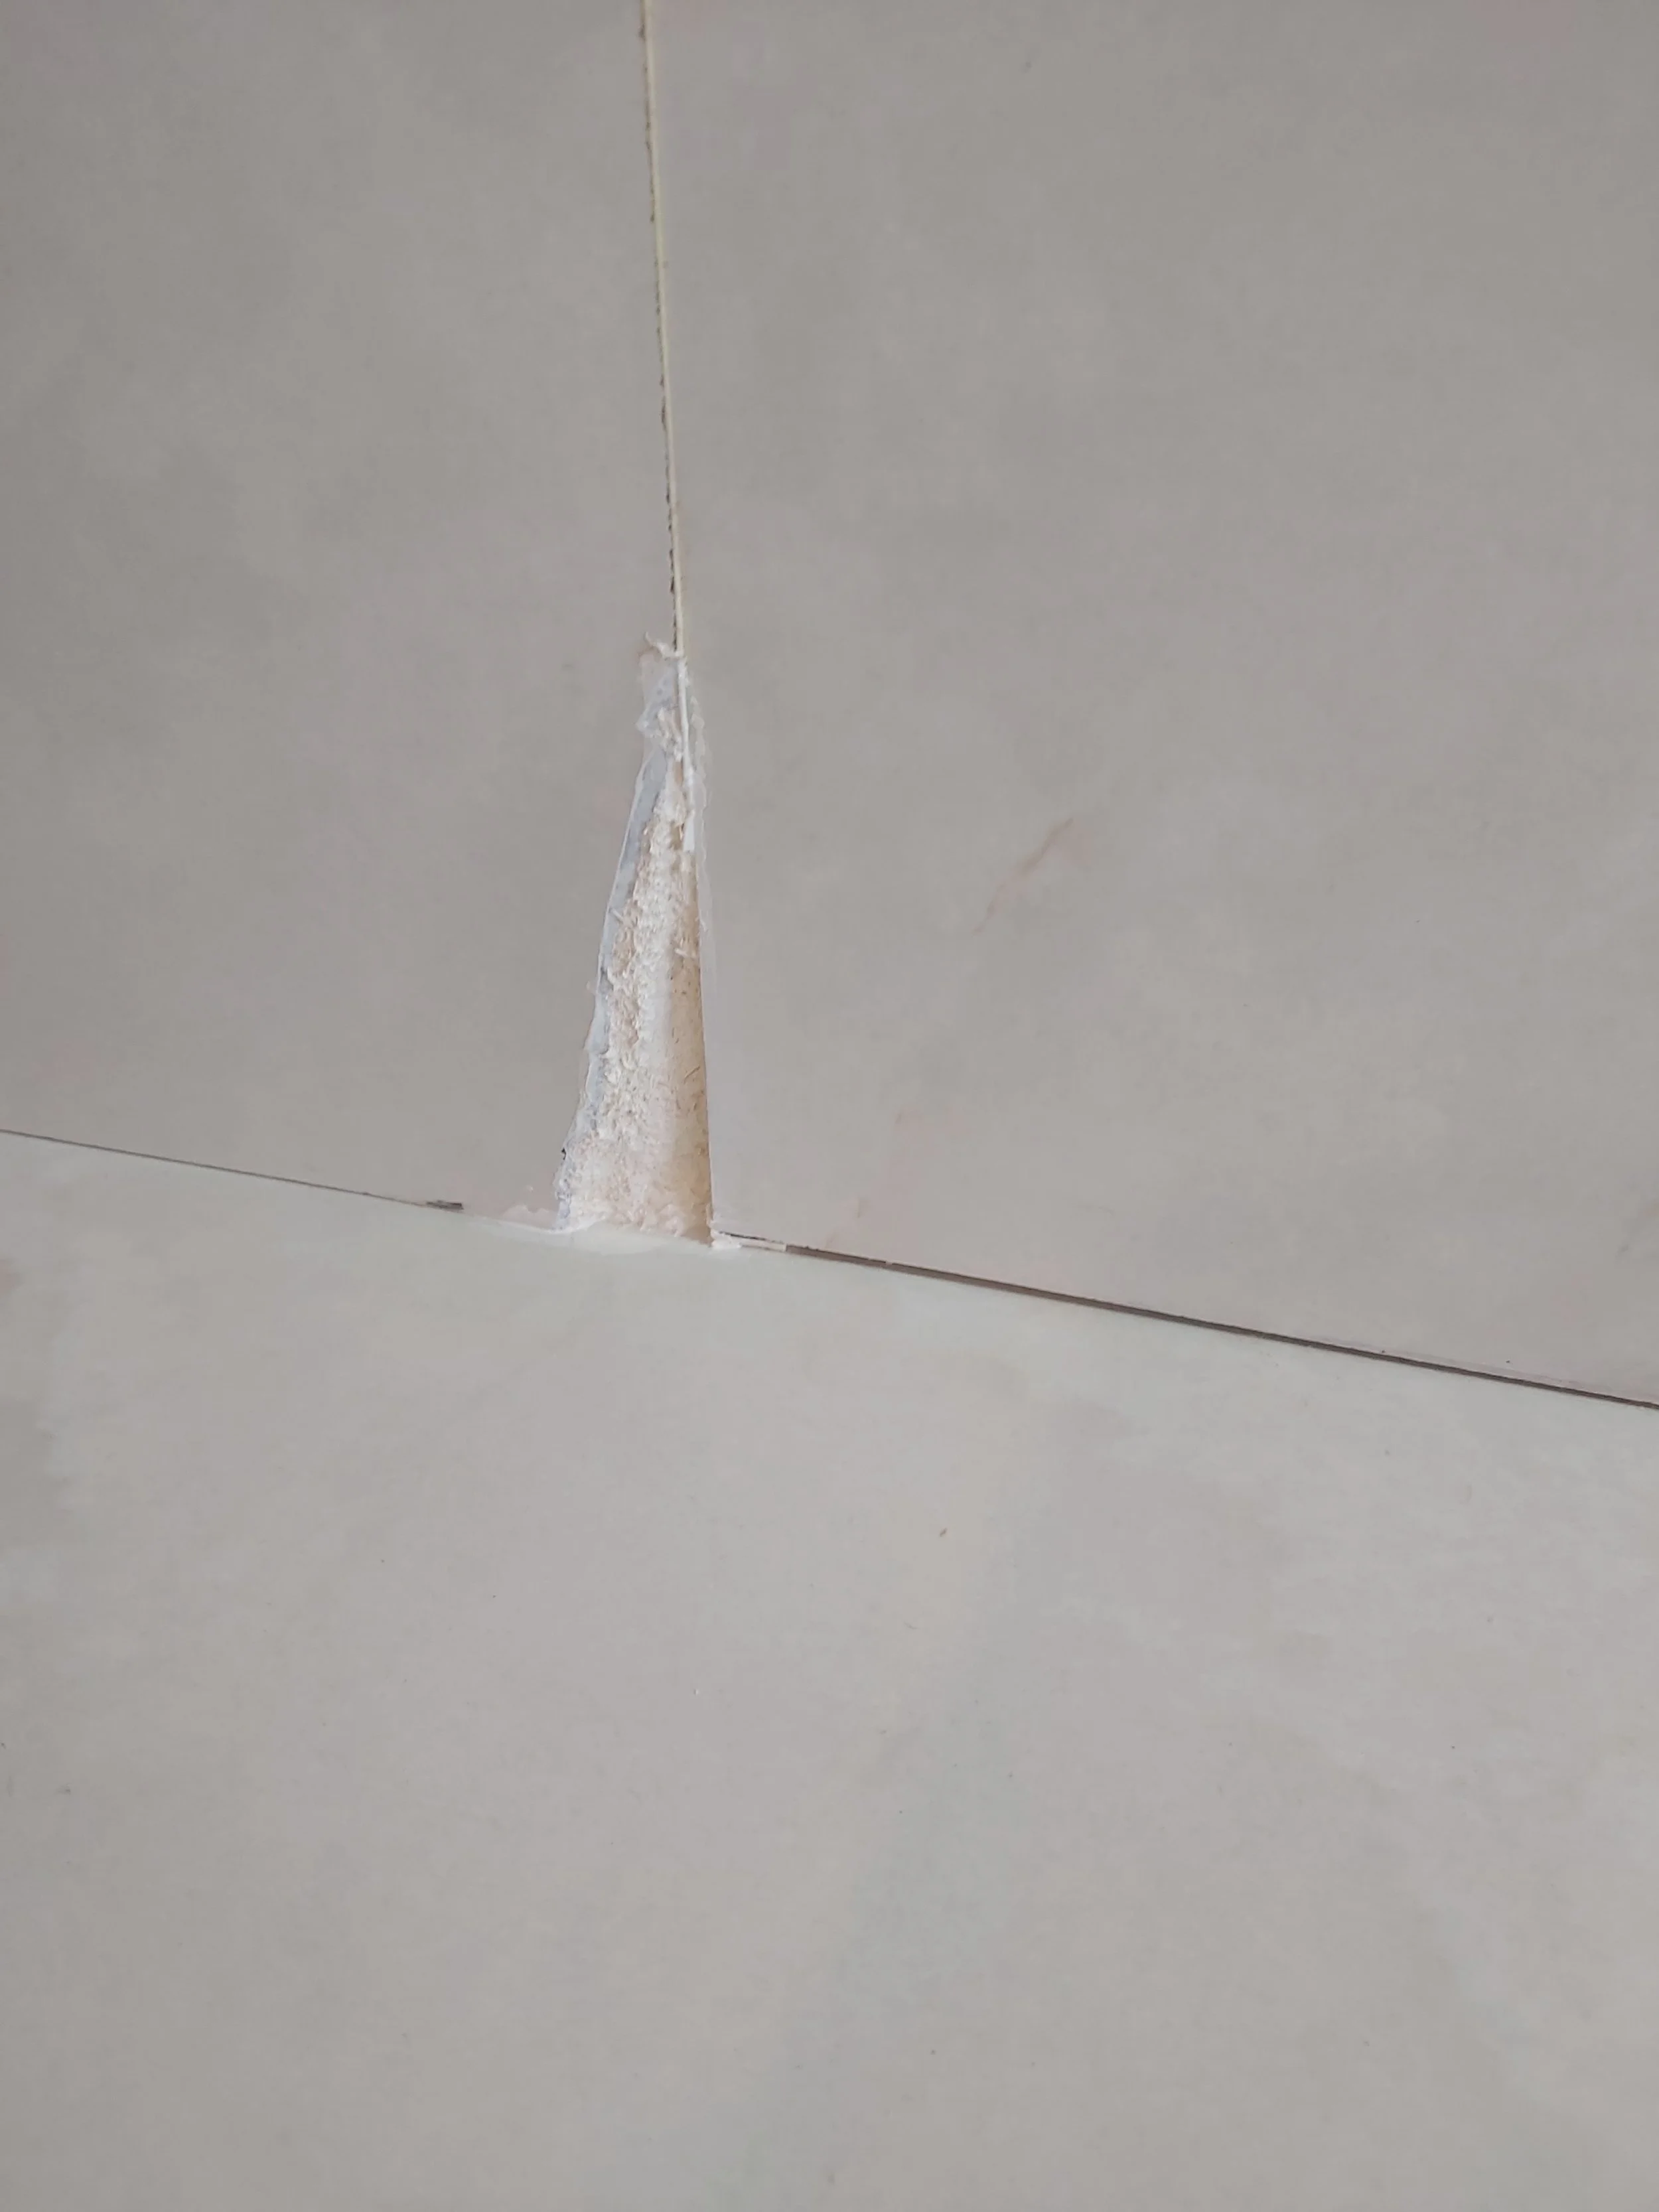
The swollen MDF cut out, back to sound board - then primed.
The Silicone Told Its Own Story
While we were in there, the silicone gave the game away. Good kitchen and bathroom joints are sealed with proper sanitary-grade trade quality silicone — flexible, waterproof, and built to live in wet environments for years. What we found here was dry, flaky and brittle, peeling away at a touch. It behaved far more like a cheap decorator’s caulk than a trade-quality silicone, it had not adhered to the worktop at all!
On a kitchen only a year old, that tells you plenty about which corners were cut the first time round. So we cut all of it out and re-sealed the joints properly, with the right product, neatly tooled. And while we were at it, we spotted a second joint just beginning to go the same way. Rather than leave it to fail and become another swelling repair down the line, we cut that one out and re-siliconed it as well — at no extra charge. A small thing, but catching it then saved the client a bigger bill later, and that’s the point – “A stitch in time saves 9”.
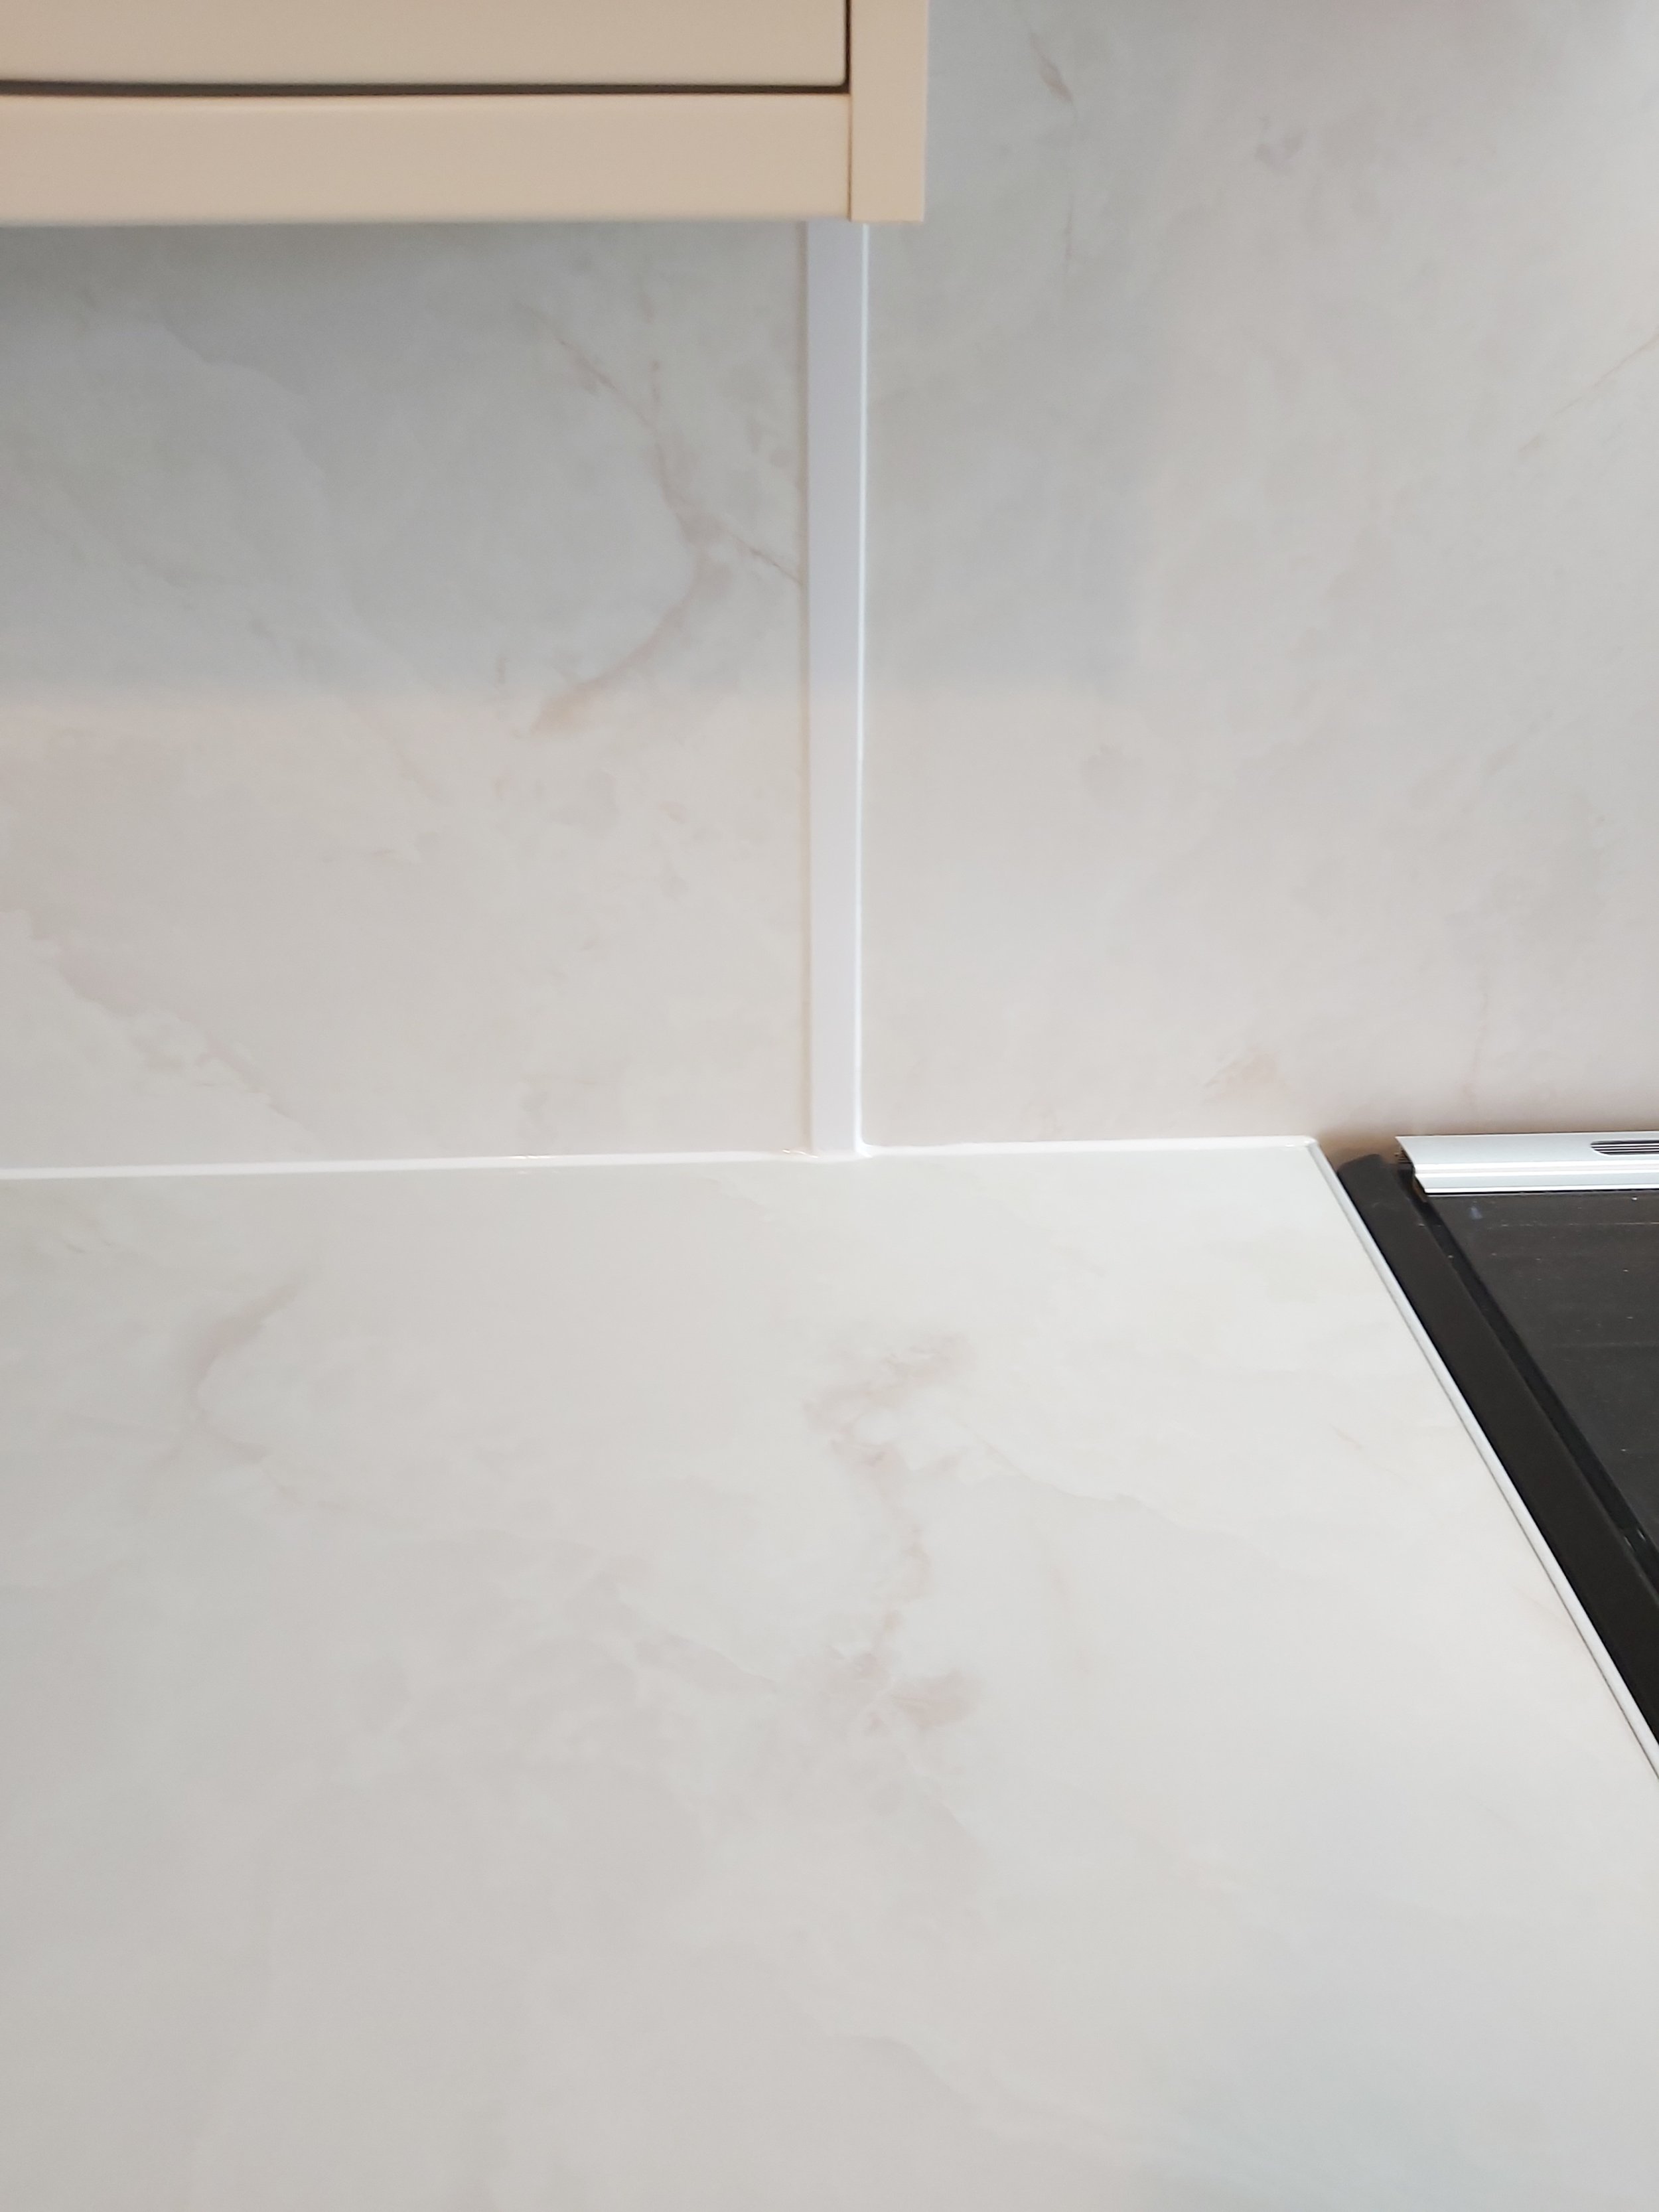
Fresh, properly tooled silicone and a crisp new trim line — watertight, and looking like it belongs.
The Result
The finished job does exactly what good repair work should: it disappears. The swollen MDF is gone, the new trim looks like an intentional detail rather than a rescue, the joints are watertight, and a barely-broken-in kitchen looks brand new again — without the cost, mess or waste of tearing out a whole splashback. One tidy morning’s work instead of a small refit.
Best of all, the client was happy. In their own words:
“Very happy, and that’s coming from a perfectionist!”
We’ll take that. Fuss-free fixing and finishing — exactly the kind of niggly-but-important job our handyman and finishing team tackle every week across Dorchester and the wider Dorset area.
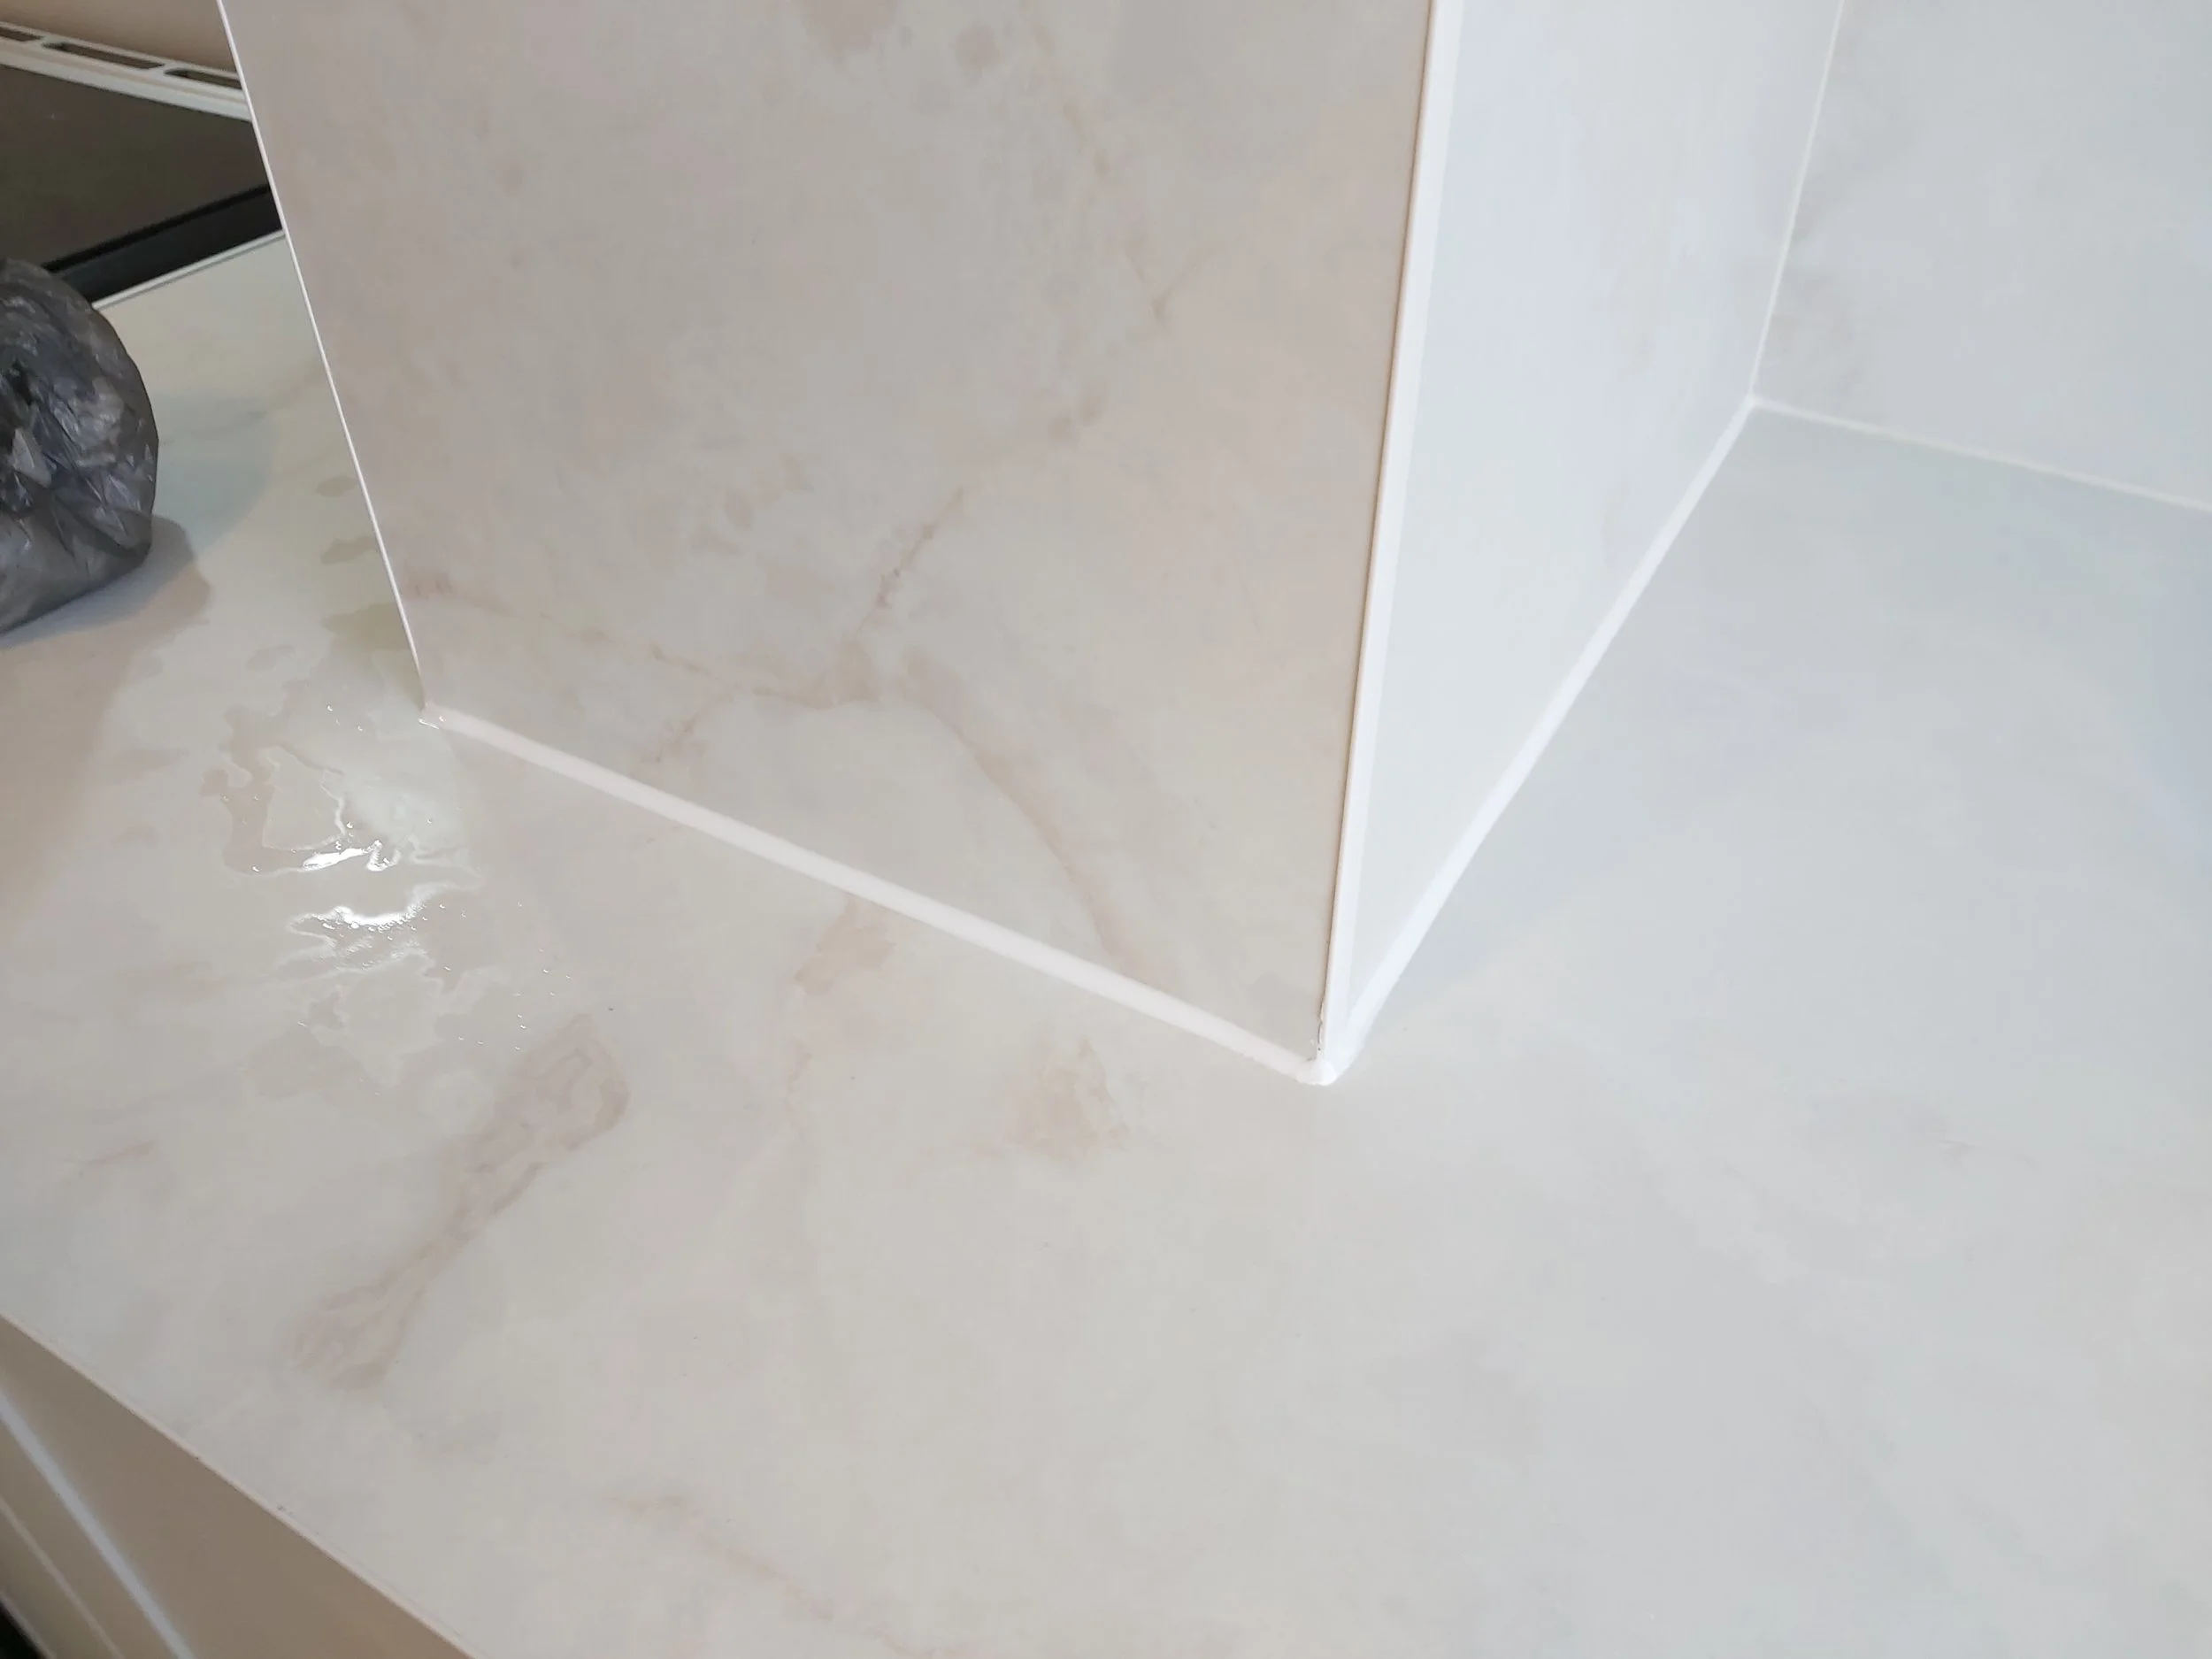
The finished corner — neat, watertight, and ready for another decade of kettles and steam.
Spotting It Before It Spreads
The frustrating thing about water damage like this is how cheap it is to fix early and how expensive it gets if you leave it. If you’ve an MDF or laminate splashback in a kitchen or bathroom, a thirty-second look every few months is worth its weight in gold. Here’s what to watch for:
A soft or spongy edge. Press gently near a joint or cut edge. If it gives, feels lumpy, or has started to bulge, water is already in the board.
A lifting or opening joint. Where two panels meet, any gap, lip or step that wasn’t there before is a way in for steam and splashes.
Silicone going dry or flaky. Healthy sealant stays slightly rubbery. If yours is hard, cracked or peeling, it has stopped doing its job — and water is getting behind it.
A dark line at the seam. Discolouration creeping along a joint usually means moisture has been sitting there for a while, even if the surface still looks intact.
Catch any of those early and it’s a small, tidy job. Leave it, and a hand-sized repair can quietly become a whole new splashback. Condition-led, not crisis-led — the same principle we bring to every property we look after.
Got a job like this — a swollen splashback, a flaky silicone joint, a small repair you would rather not let turn into a big one? That’s our bread and butter. Send us a few photos or give us a call, and we’ll tell you honestly whether it needs a repair or a replacement, with a fixed-price quote either way. Take a look at our handyman services for more of what we fix.
Repair beats replace nearly every time. You just need someone who can tell the difference — and make the fix look like it was always meant to be there.
From Mark & the UIL team
Get In Touch
Ready to bring your project to life? At Upcycle Interiors, we combine professionalism, trustworthiness and reliability to deliver results you can count on.
Whether it’s a small repair or a full renovation, we’ll treat your home with the care and respect it deserves.
For fuss-free fixing and finishing, contact us on:
Web: www.upcycleinteriors.co.uk/contact
Email: sales@upcycleinteriors.co.uk
Phone: 01305 584459
Based in Weymouth and covering all of South Dorset including DT1, DT2 (part), DT3, DT4, DT5, DT6 (part). Please do get in touch if your area is not on the list.
Upcycle Interiors Limited — professional, trustworthy, reliable.
References
UIL Finishing Services — https://www.upcycleinteriors.co.uk/finish
UIL Handyman Services — https://www.upcycleinteriors.co.uk/handy
