

Water always finds a way in. The question is whether your house was built to let it back out.
There are few things more quietly maddening than a damp patch that keeps coming back.
You dry it out. You repaint it. Three storms later it's back — same corner, same tide-mark, same sinking feeling. And it doesn’t stop there – it only seems to happen when the wind blows a certain direction, or there’s a blue moon…. And because water travels in ways that don't respect logic (or plasterboard), the wet patch on your wall is very often nowhere near the actual point of entry.
At Upcycle Interiors Ltd (UIL) we investigate water ingress across Weymouth, Portland and Dorchester more often than almost any other call-out — and on our exposed stretch of the Dorset coast, with salt-laden horizontal rain and freeze-thaw doing its worst every winter, that's no surprise. This post covers the main ways water gets into a building, explains the unsung hero of cavity wall construction — the cavity tray — and walks you through a recent investigation in Rodwell, Weymouth, where the camera told us something the wall had been hiding for 20 years (literally).
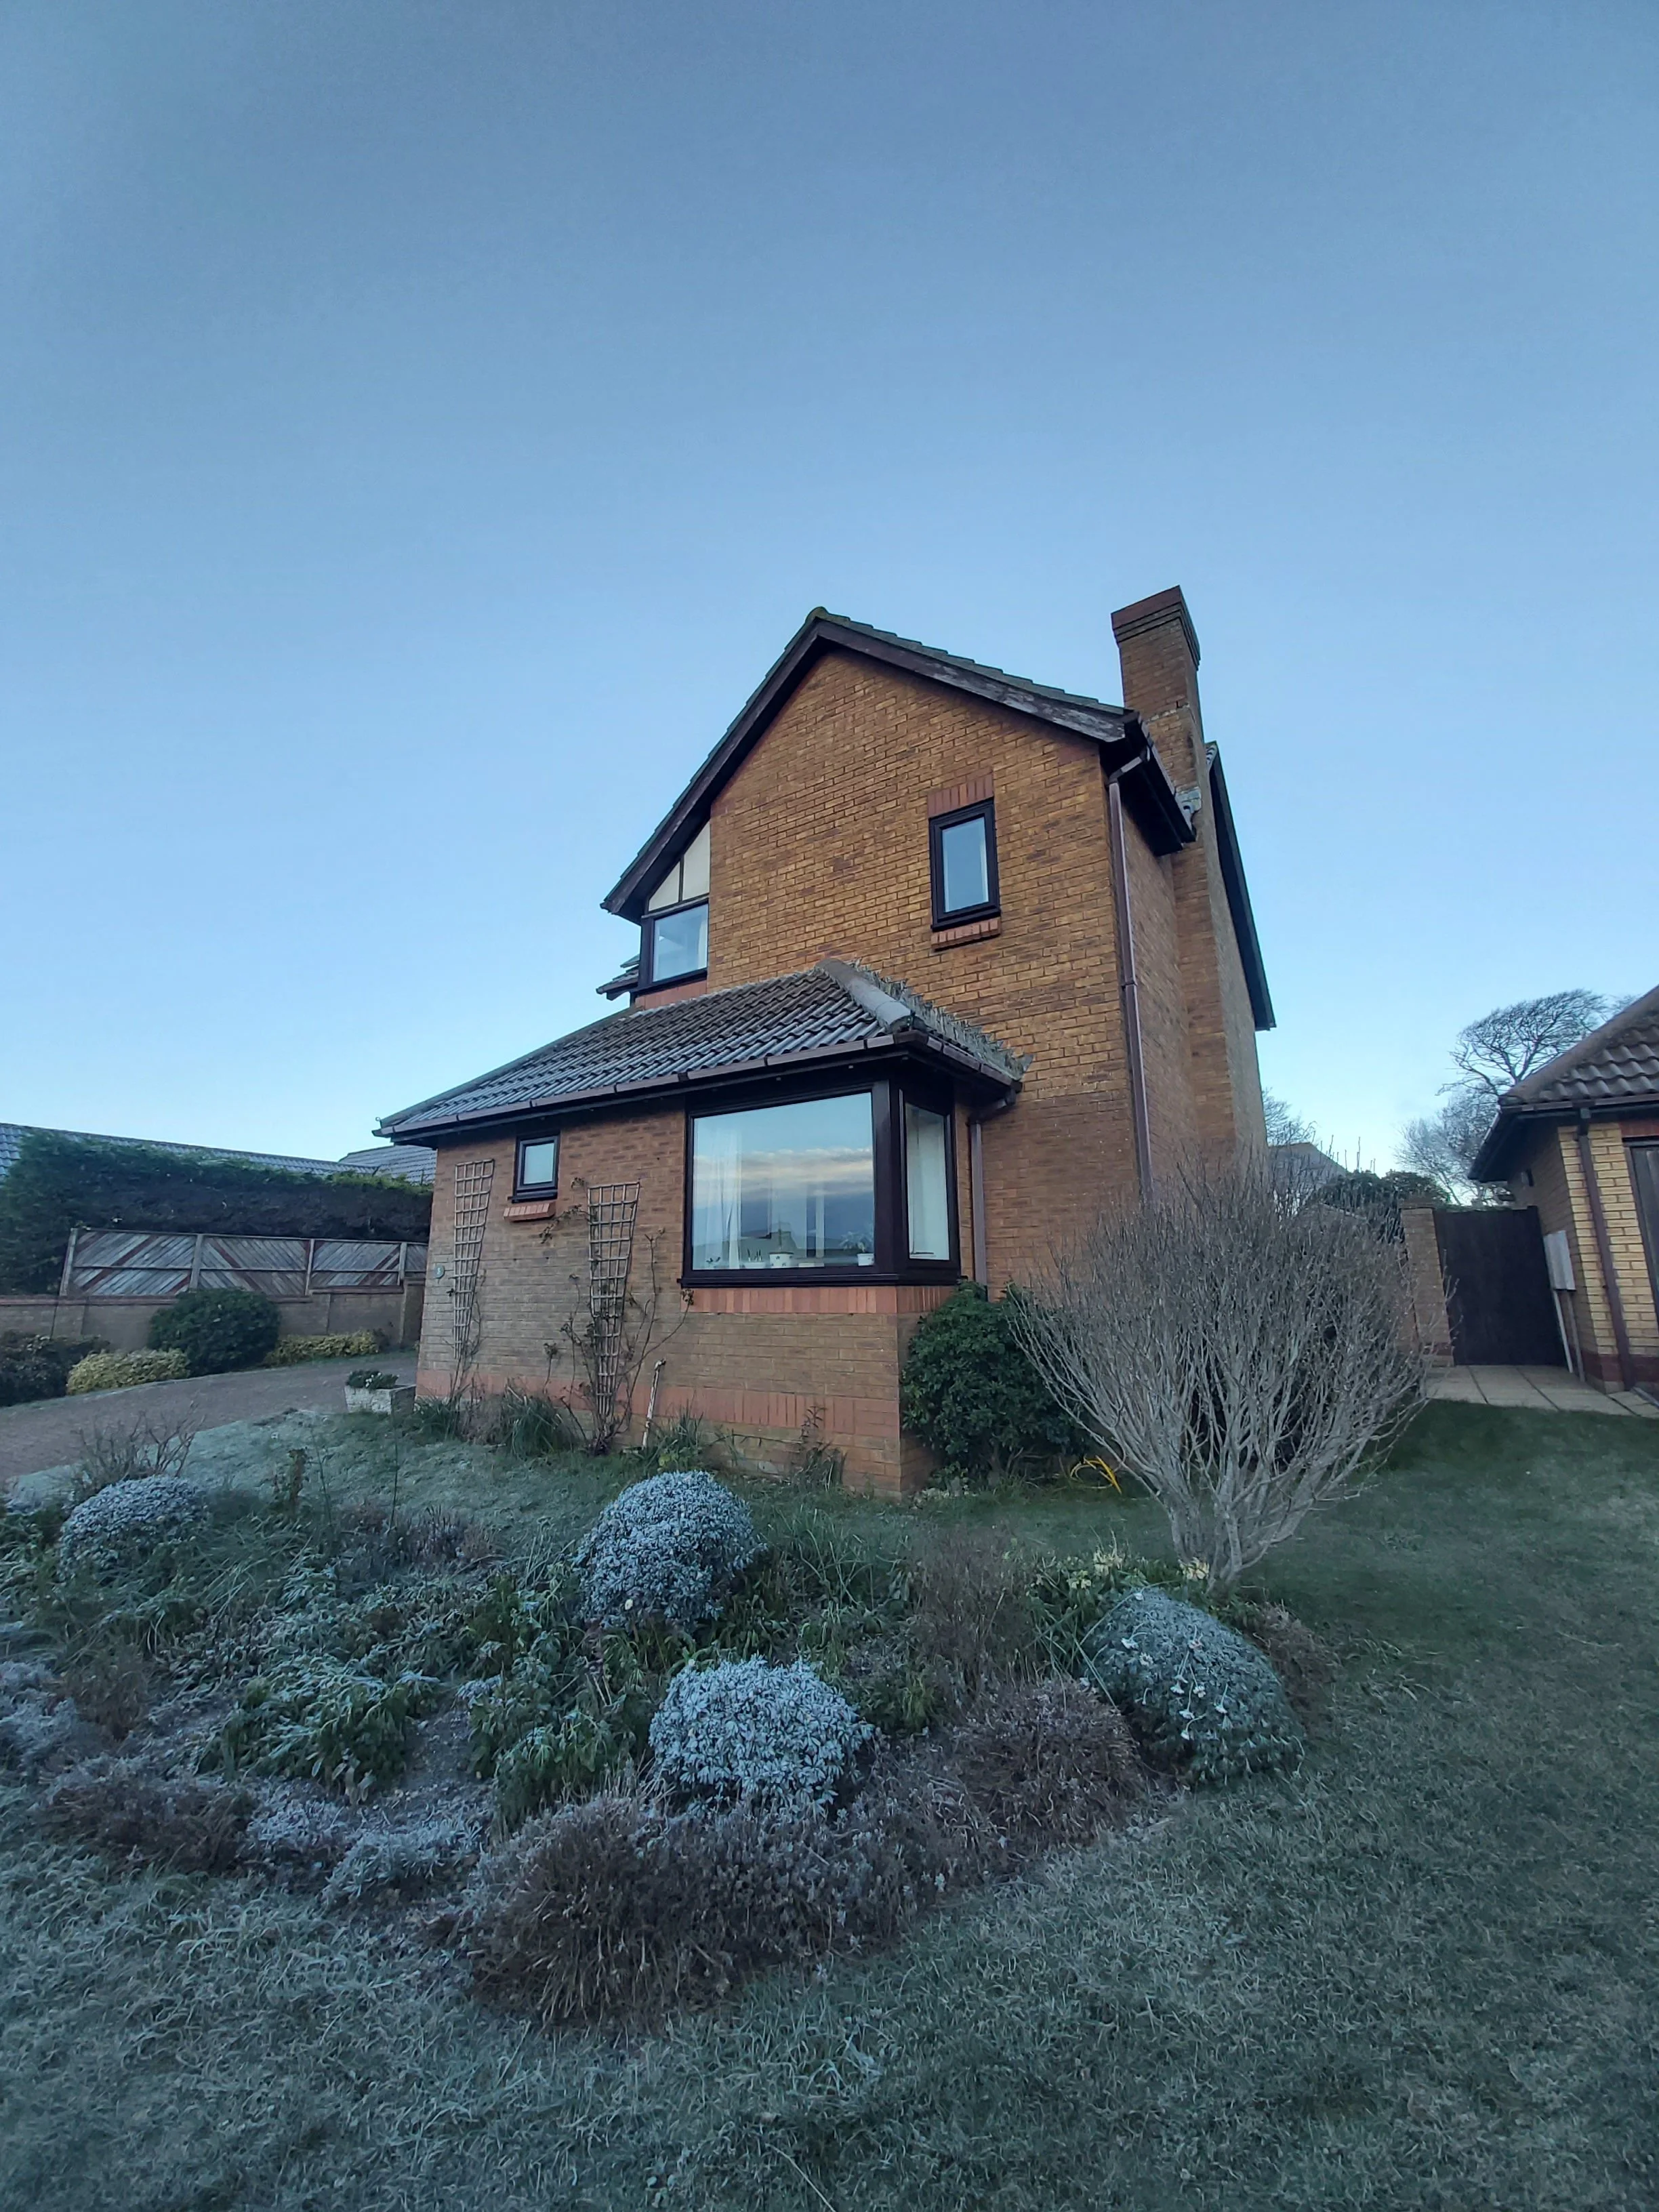
The Many Ways Water Gets In
Water ingress isn't one problem — it's a family of them, and each member behaves differently:
Penetrating damp — wind-driven rain forced through the face of the masonry itself. Older, more porous bricks and weathered mortar joints soak it up like a sponge, and on an exposed elevation it simply keeps coming.
Failed sealant and pointing — the joints around windows and doors, and the mortar beds around them, are a favourite entry point. A hairline gap is all it takes.
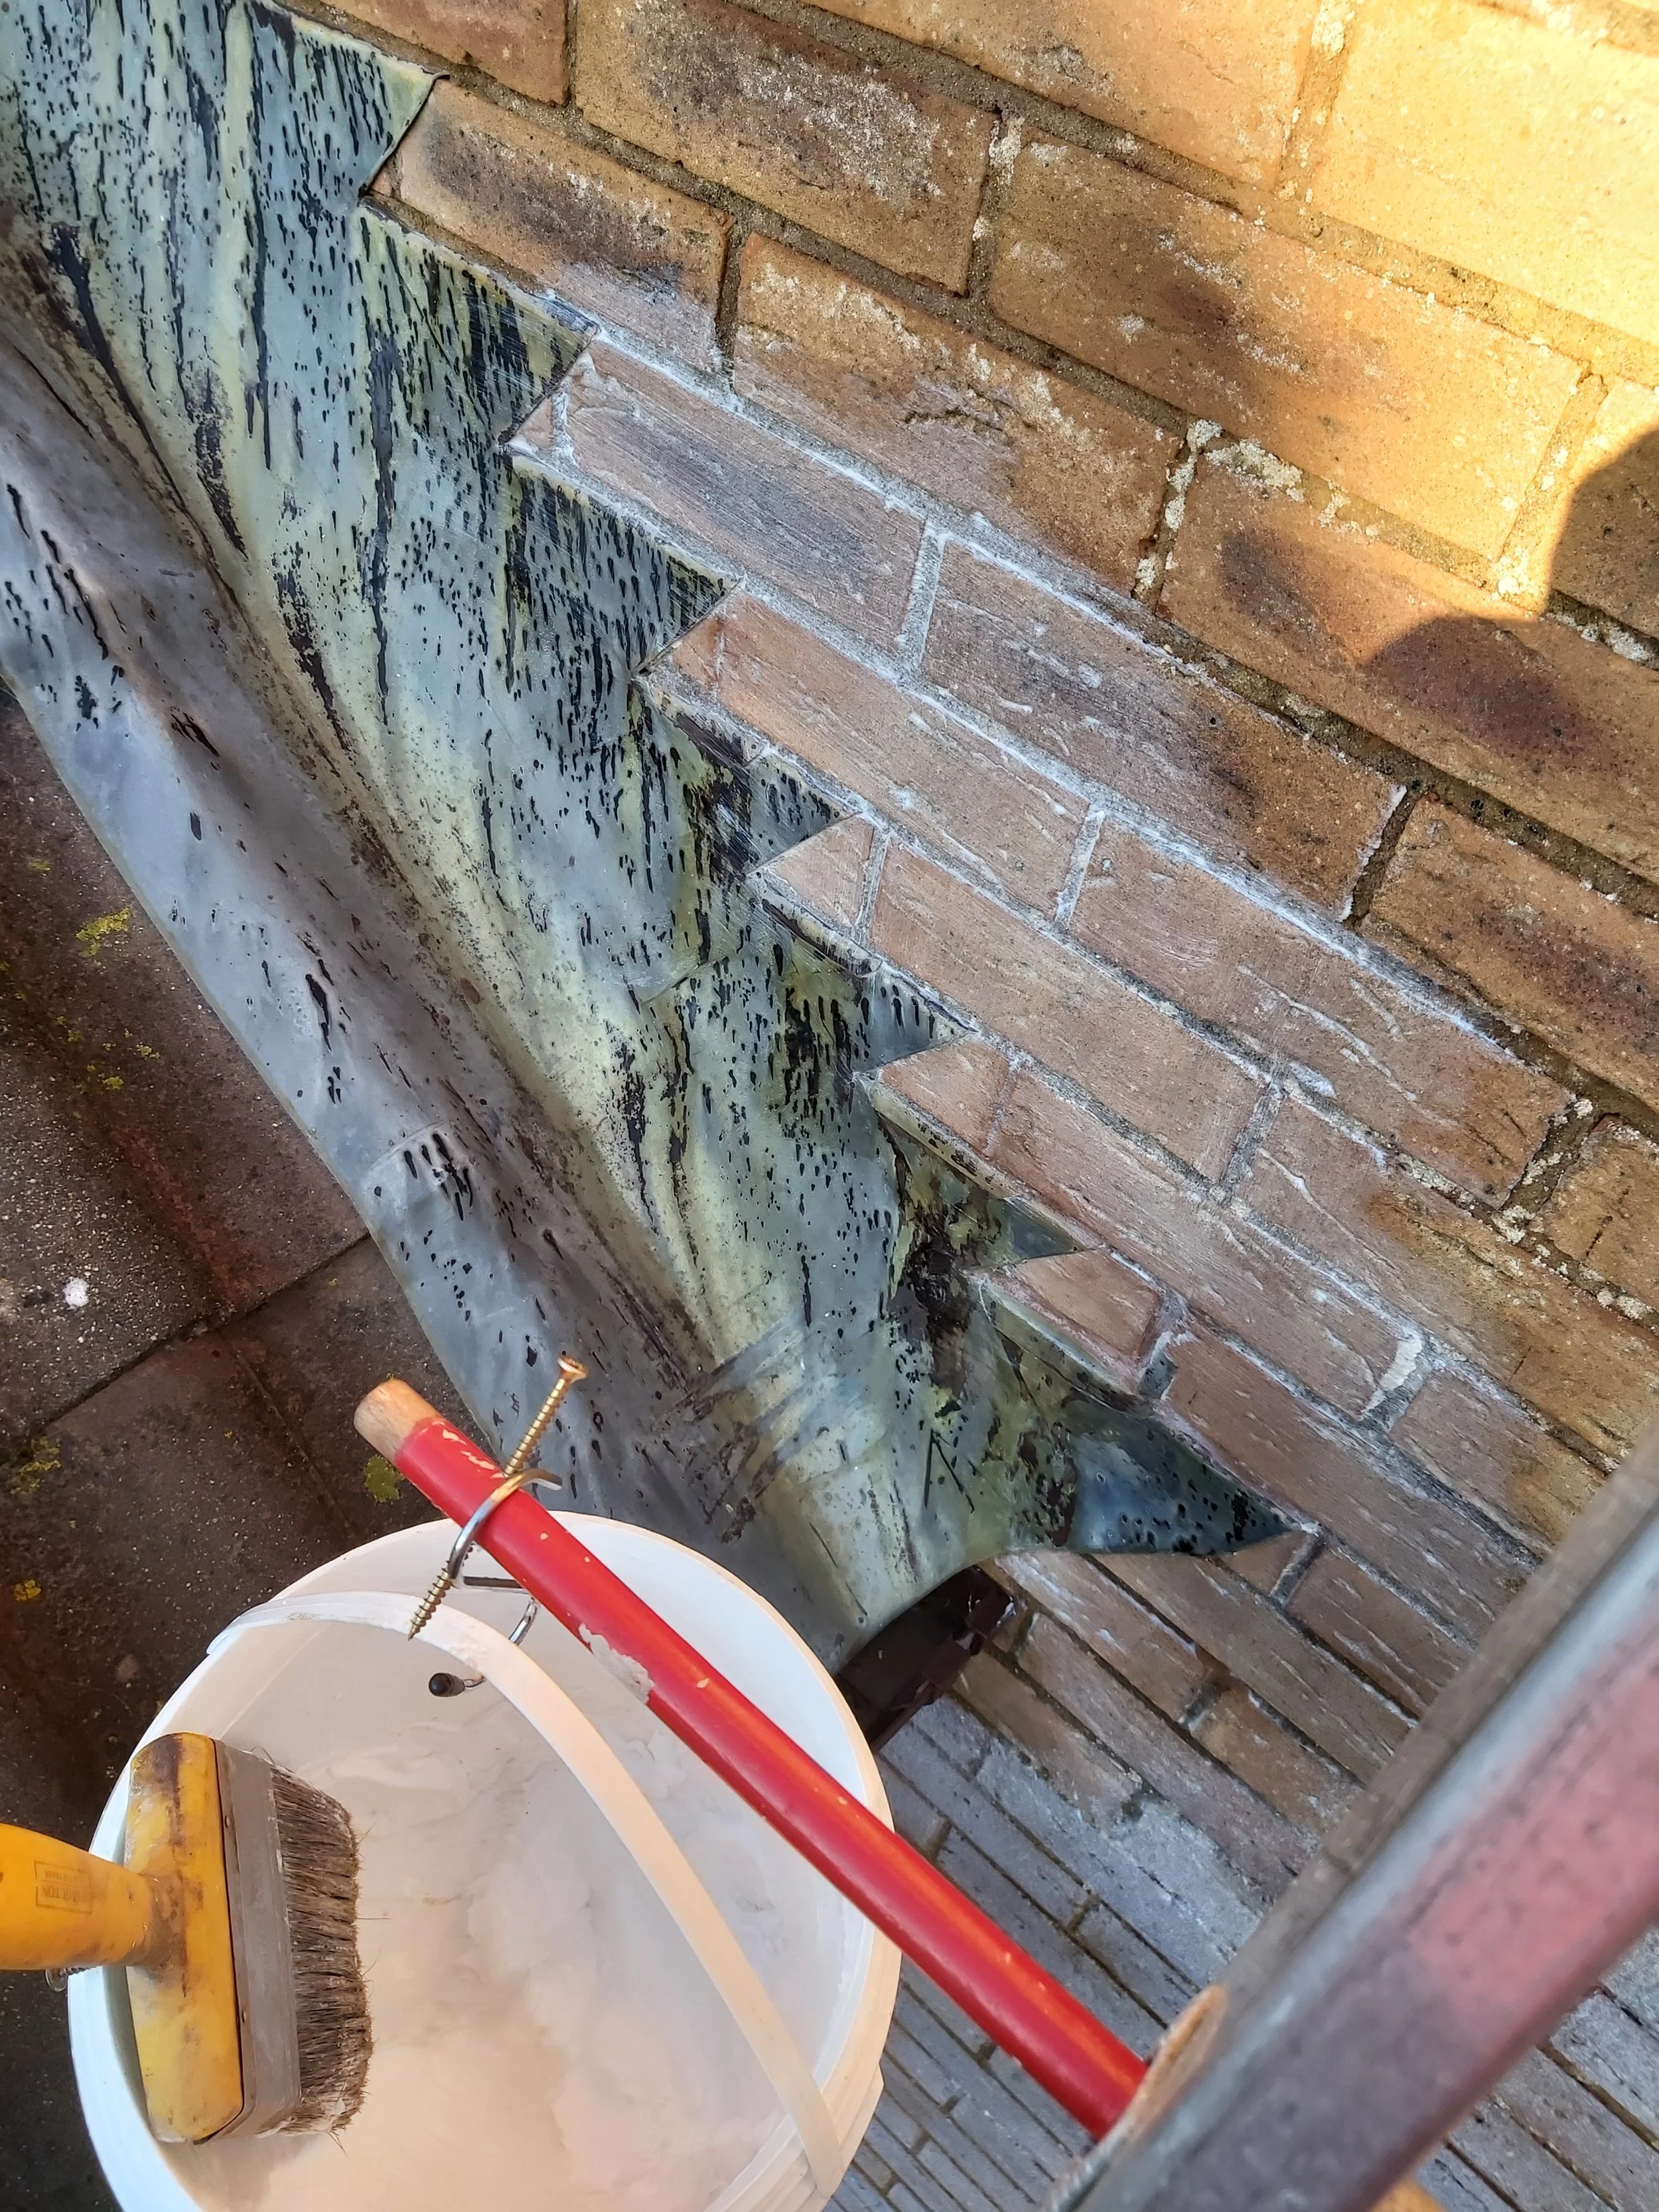
Lead flashing failures — where a roof meets a wall, stepped lead flashing should shed water clear. If it's split, lifted, poorly dressed — or missing entirely — water tracks straight down the brickwork behind it.
Blocked or leaking gutters — a gutter overflowing in the same spot for a season will saturate the wall below it. One of the cheapest problems to fix and one of the most expensive to ignore. Even a “perfect” wall cannot withstand the entire contents of the roof!
Missing or failed cavity trays — the hidden one. More on this below, because it deserves its own section and it takes a little effort to understand what is going on. Even reputable builders don’t understand these, or omit them – as our example will show.
The recurring theme? Reactive maintenance always costs more than planned maintenance. A tube of sealant and an hour clearing a gutter is condition-led maintenance. A saturated wall, blown plaster and a redecorated bedroom is what happens when the calendar — or nothing at all — is in charge.
Cavity Trays: The Part Of Your Wall You've Never Seen
Here's the bit most homeowners find genuinely surprising: a cavity wall is designed to let water in.
Modern masonry walls are built as two skins — an outer leaf of brick (called “the wet skin”), an inner leaf of block/brick (called “the dry skin”) — with a cavity between them. The outer leaf is not waterproof and was never meant to be. In driving rain, water will pass through it. The cavity's job is to catch that water and let it drain harmlessly down the inside face of the outer leaf, never reaching the inner leaf your plaster and paint sit on.
But there's a catch. Wherever something bridges or “jumps” that cavity — above a window or door, where a lower roof abuts the wall, at an abutment with an extension — the water running down inside the cavity needs somewhere to go. That's the cavity tray's job: a waterproof shelf (lead, or a preformed plastic or metal unit) built into the wall, sloping outwards, that catches the descending water and directs it back out through weep holes — small open joints in the brickwork that let the water escape.
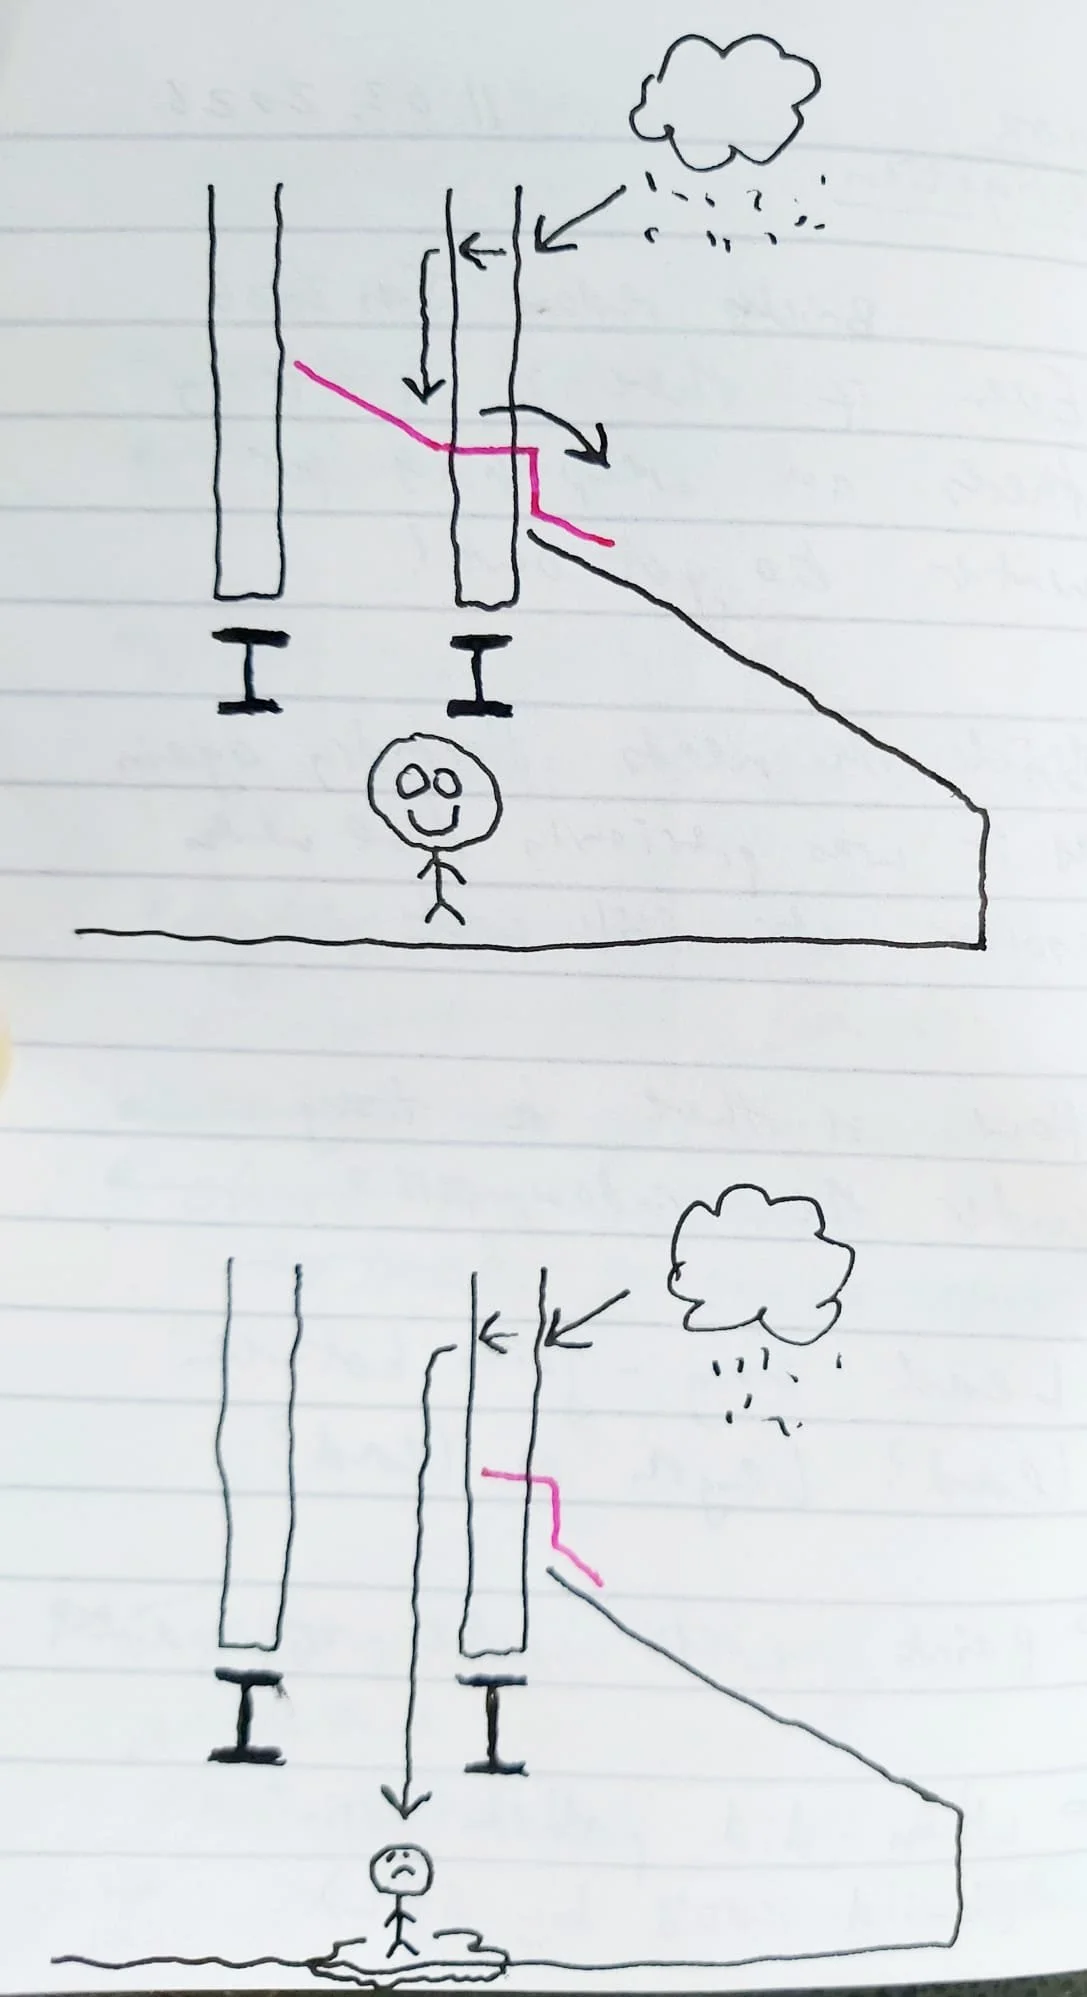
Let the water in. Catch it. Let it back out. Simple — when it's actually there.
“The difference usually isn’t what you see — it’s what’s underneath.”
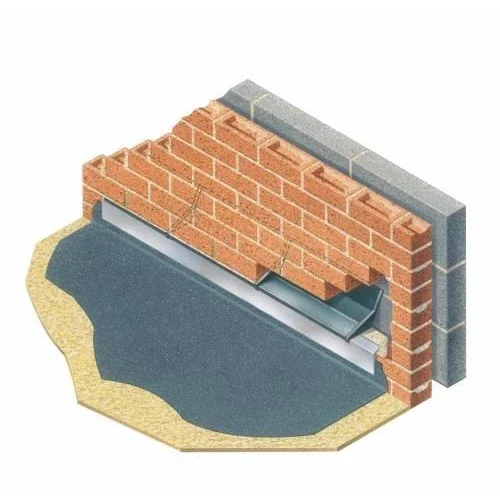
And here's what we find time and time again on site: cavity trays that were never installed at all, or “handmade” lead trays with no edges (so the water goes sideways instead of coming out of the wall), or trays with no weep holes — so the water they catch has no way out and simply pools until it finds the inner leaf. Both are surprisingly common, even on relatively modern homes. The wall looks perfect from the kerb. What's underneath is another story.
The Rodwell Investigation
A homeowner in Rodwell (Weymouth) found UIL on Nextdoor — a recommendation from “Nextdoor” social media site — and phoned our receptionist. The problem: persistent water ingress at a wall where a lower roof meets the main elevation, and no obvious culprit.
The client had already commissioned their own drone survey, which gave us an excellent starting point — a clear aerial view of the render, the windows, the gutter lines and the lead flashing along the abutment.
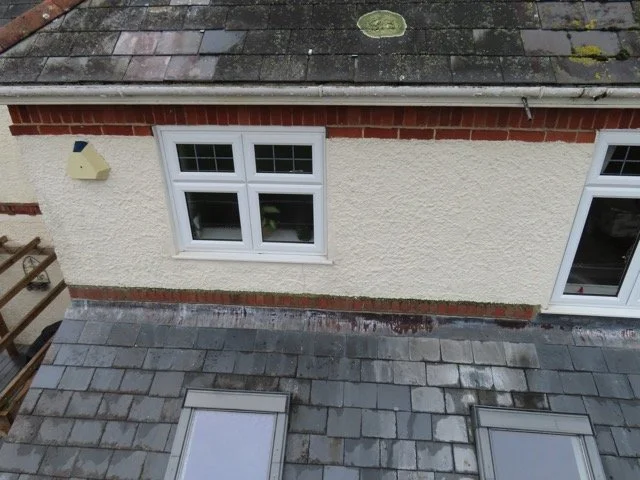
From there we deployed our Camera Investigation service. We drill a small, discreet hole into a mortar joint and insert a borescope camera to inspect inside the cavity — specifically hunting for the cavity tray.
We're honest about the limits: cavities are dark, cluttered places and trays aren't always visible on camera. If we can't get a clear answer, the next step is to carefully remove a single brick, inspect directly, and reinstate the brick perfectly once we're done.
While we're there, we survey everything else that we can see in the suspect zone — lead flashing, render condition, brickwork, window seals, gutters — because water ingress investigations are about eliminating suspects one by one.
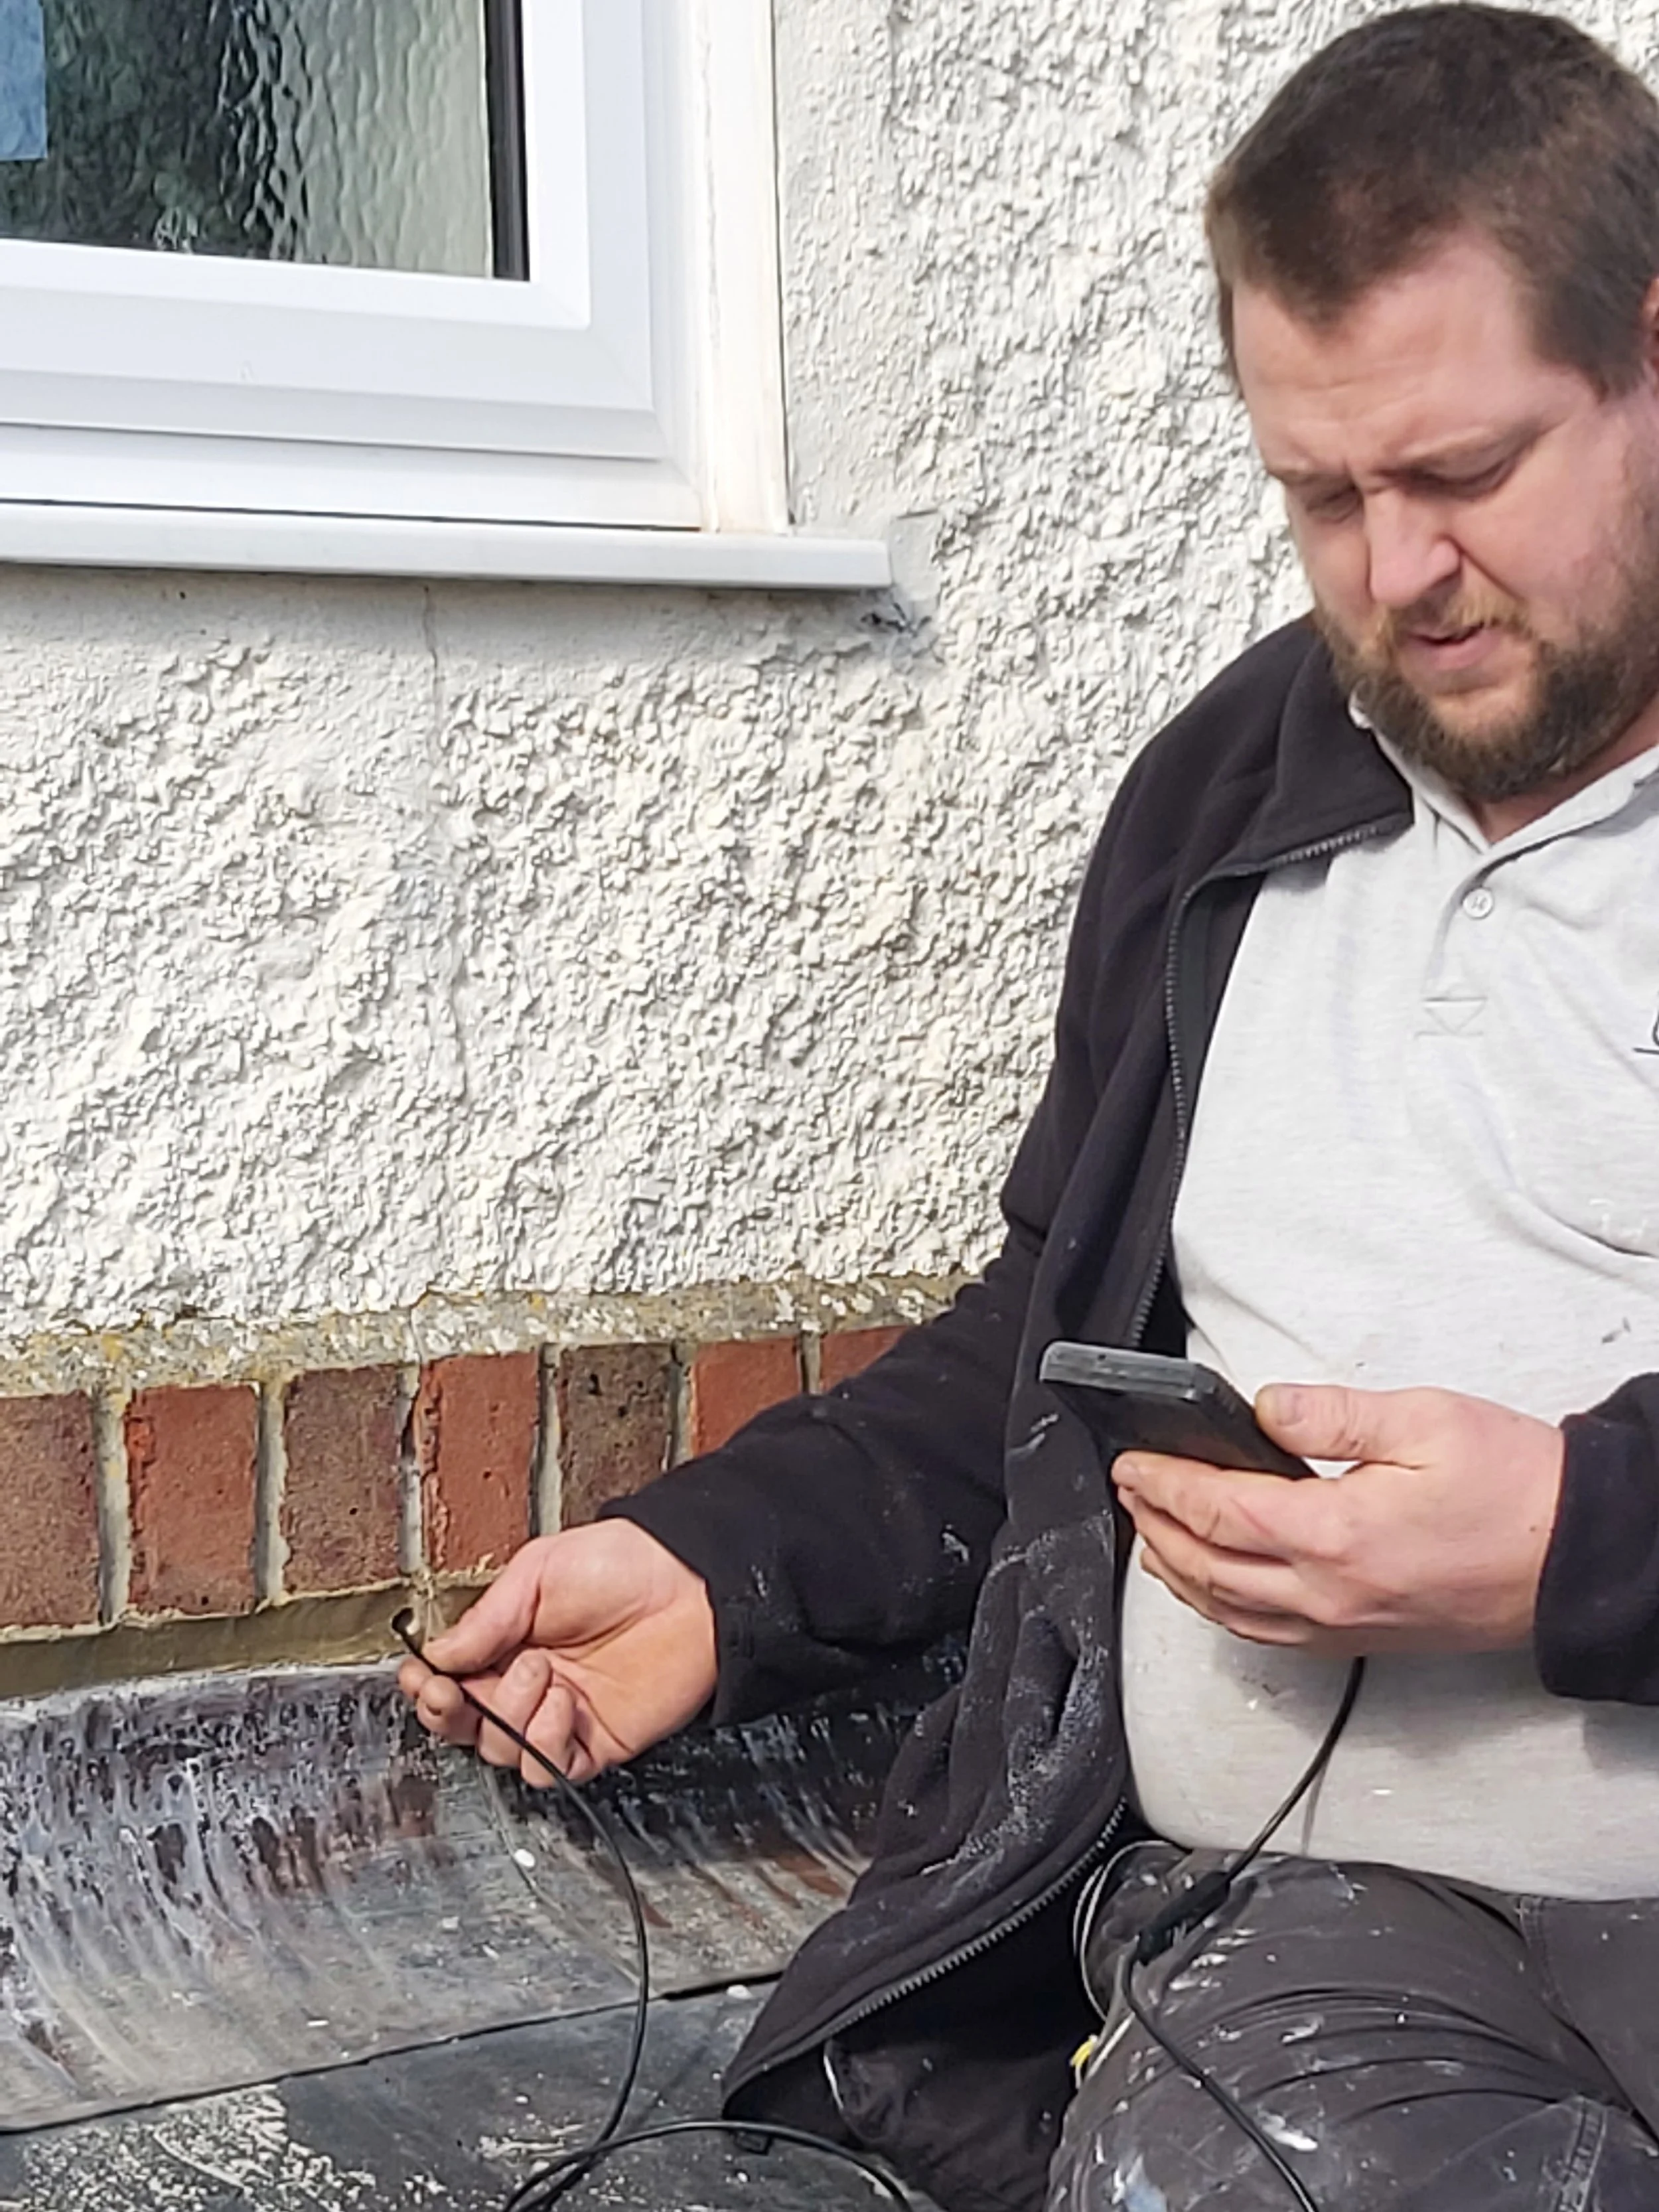
The verdict at Rodwell? No lead tray present.
The abutment had been built without one — meaning every drop of water passing through that outer leaf had been free to travel wherever gravity fancied.
For us this was shocking – because the extension had been built 20 years ago by a reputable company, and a cavity tray was clearly shown on the design drawings.
When The "Right" Answer Isn’t The Right Answer For You
The textbook fix for a missing cavity tray is to retrofit one — cutting into the brickwork and building a tray in. But our Rodwell client was understandably hesitant: other works had already been completed in the area to “solve” the problem, and opening the wall back up wasn't an appealing prospect. It is messy, destructive and expensive.
This is where investigation earns its keep. Because we'd surveyed the whole elevation — not just the cavity — we could offer a menu of targeted solutions rather than a single take-it-or-leave-it answer. And we generally start with the cheapest fixes first — because a few hundred pounds in the right place is better than a few thousand that doesn't fix it:
Reseal 2 No. windows with white sealant/adhesive, including an area of loose mortar around the top of the left-hand window;
Repoint 1 linear metre of mortar above the lead flashing on the right-hand side (which had been conveniently “missed” by the previous person who had “fixed it”)…
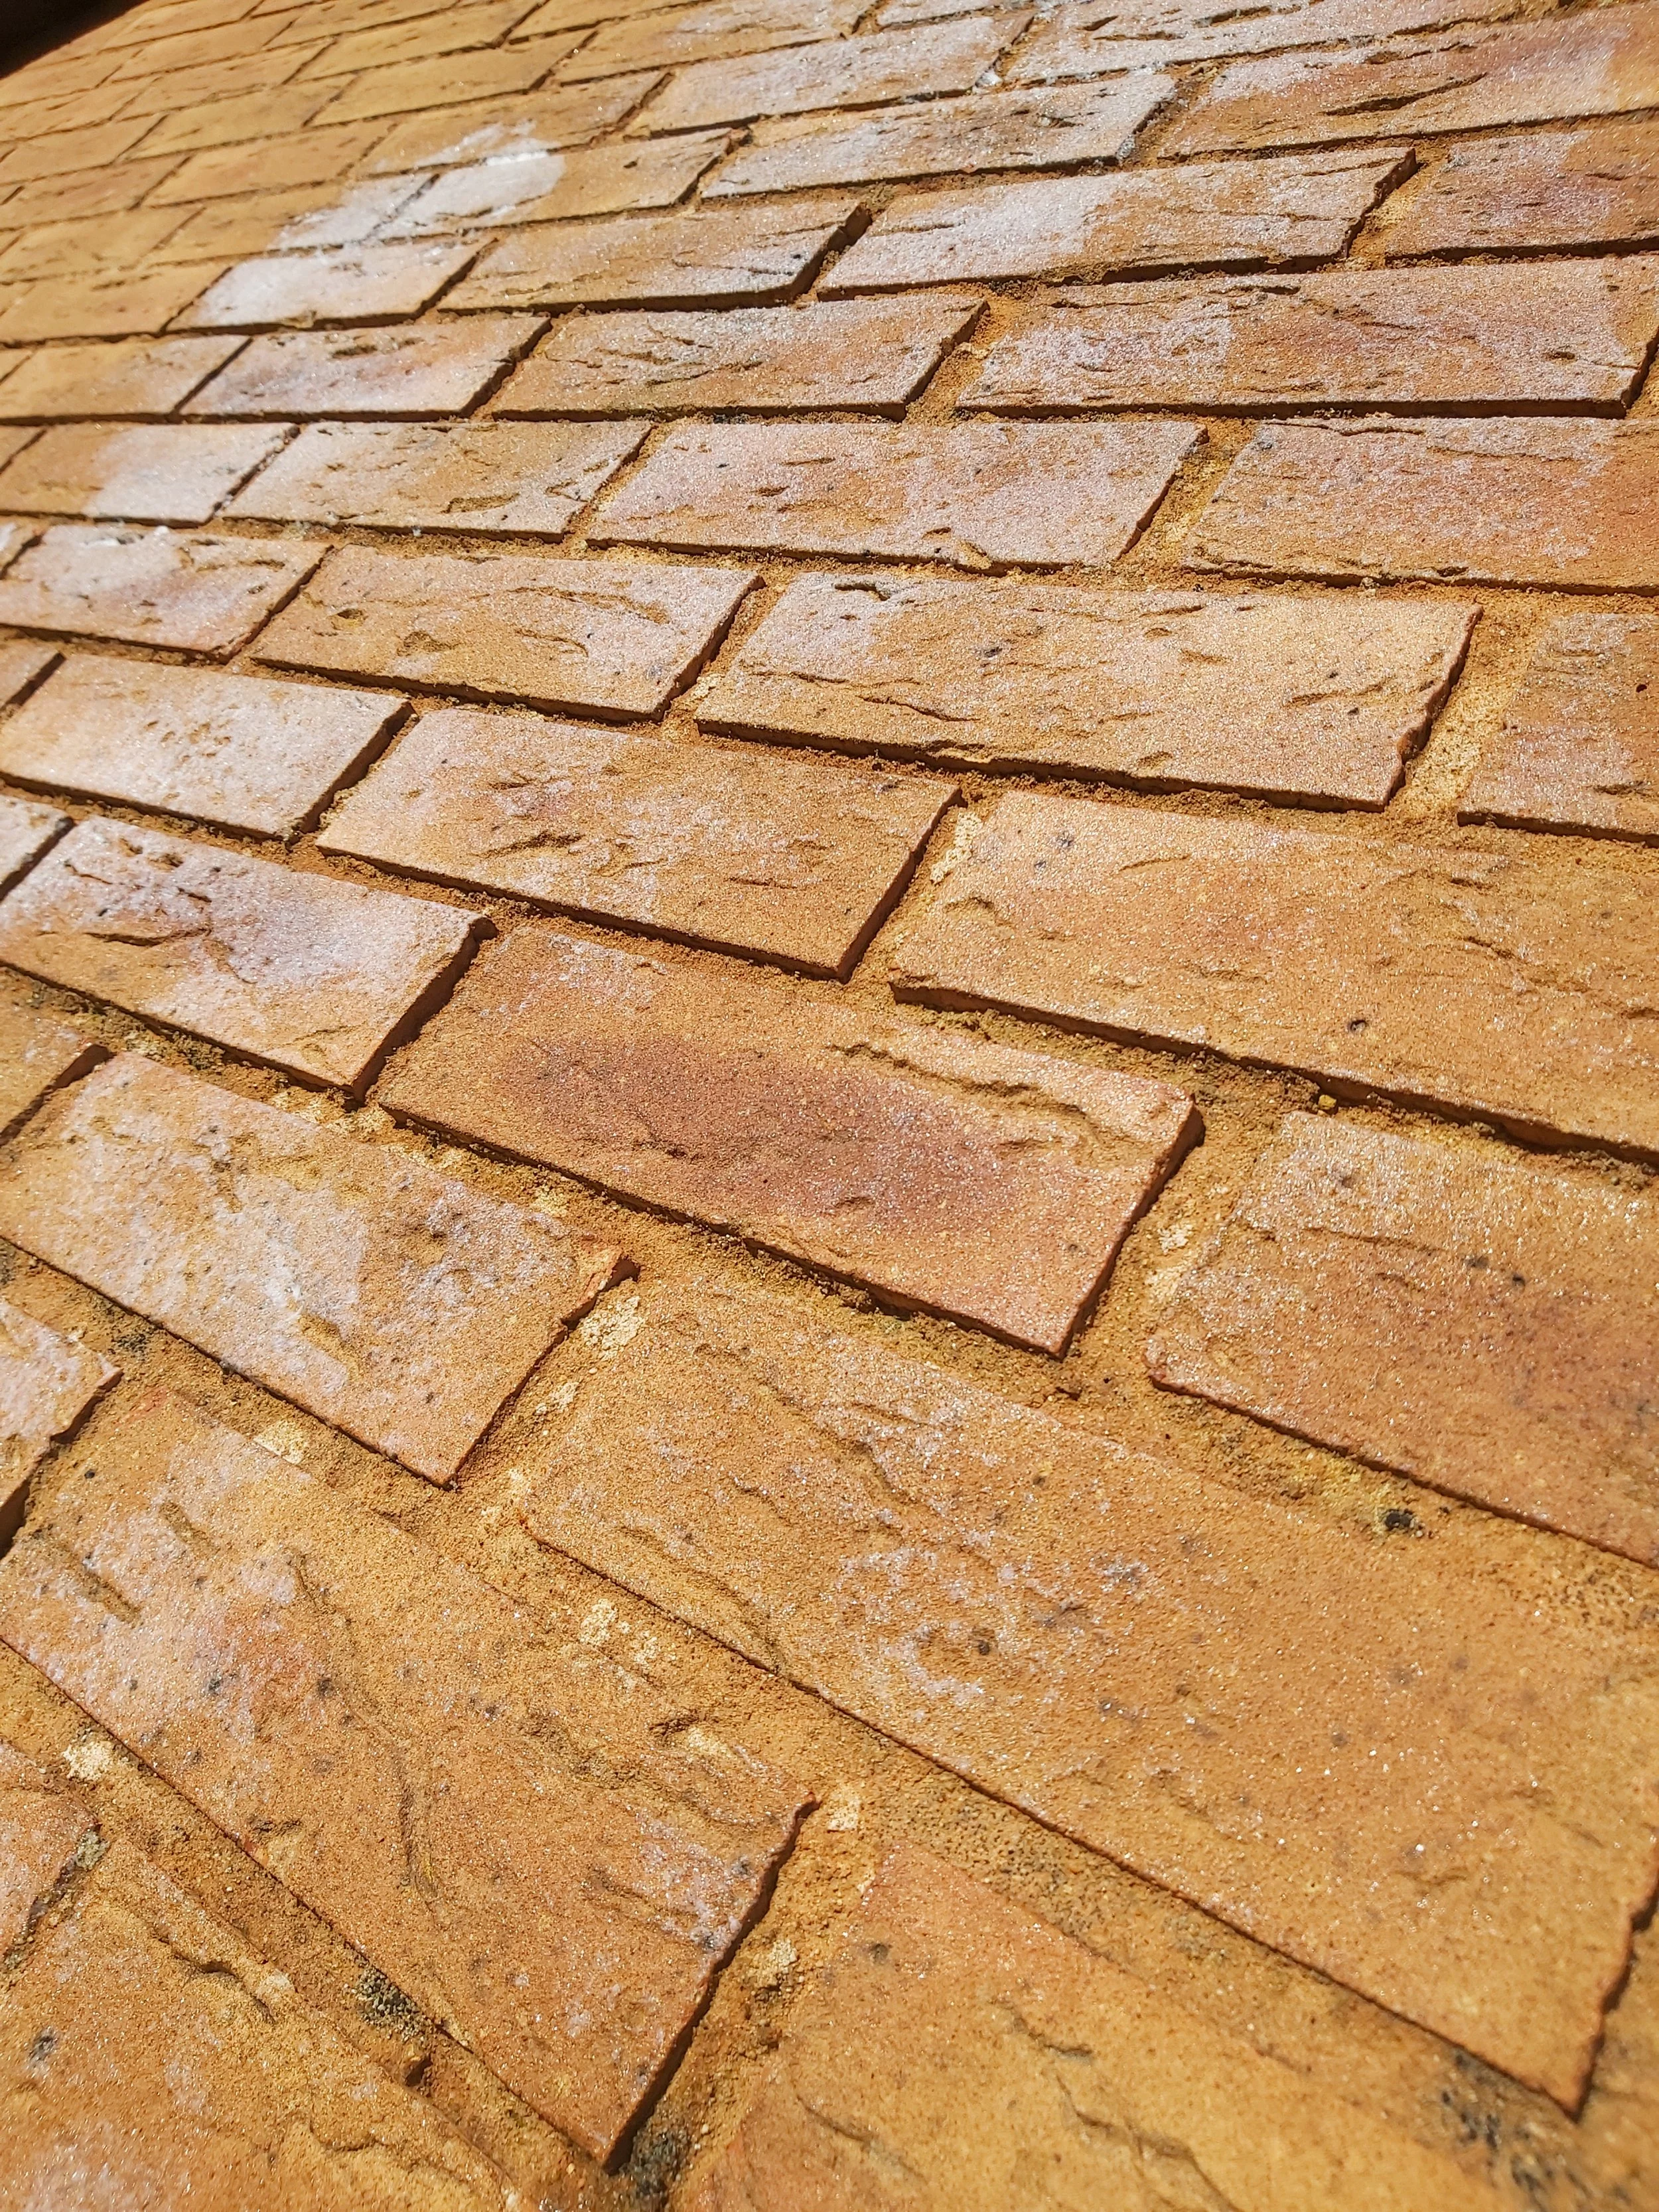
Breathable waterproof masonry cream to 2 No. courses of brickwork at low and high level (7 linear metres × 2);
Clear the rear gutter, including a small section of the neighbour's gutter which had grass growing in it and wasn’t letting water flow past, and the junction with the downpipe;
White waterproof tanking paint to the rear elevation, approx. 7m × 2.3m. To completely seal the outside of the wall. Now, we do understand this prevents breathability, but given the fact that retrospective cavity insulation had been installed, we think the breathability has already been compromised….
Every item quoted as a fixed price, in writing — so the client could pick their battles knowing exactly what each one cost. No verbal estimates, no moving targets. And we fully accept none of the options are perfect – and the client knows it.
Really what the building needs is the cavity insulation completely removed and a cavity tray installed…. But would you want to take insulation out that you paid to have put in?....
A word on that masonry cream, because it's our go-to workaround where a cavity tray can't sensibly be retrofitted: it's a breathable waterproof sealer that soaks deep into the brick face and dramatically reduces how much rain the masonry absorbs — while still letting moisture already in the wall evaporate out.
Waterproof one way, breathable the other. We only use what we consider the best product on the market for this.
What A Water Ingress Investigation Costs
In the spirit of the radical transparency you’ll find across our pricing posts, here’s exactly what these services cost:
Water Ingress Investigation — £200 + VAT.** A visual inspection survey to investigate the probable source of damp or water damage, with verbal findings and possible solutions on the day.
Camera Investigation — £200 + VAT.** A cavity, drain or flue camera investigation with verbal problem-solving solutions. The price includes drilling for camera insertion. Written reports with images and video can be provided at extra cost. (One honest note: UIL is not a RICS Chartered Surveyor — we're the practical, tool-in-hand end of the investigation business.)
We'll be straight with you on one more thing: water ingress is detective work, and occasionally the culprit stays hidden even after a thorough investigation. On some investigation projects we involves two operatives from UIL because we can bring more experience to the table – but the price for the client doesn’t change.
What we promise is a methodical search, honest findings, and no invented certainty — which is also why we start with the least expensive, most likely fixes rather than the biggest invoice.
And yes — we accept credit card payments, so settling up is as fuss-free as the rest of the process.
We answer the phone, we turn up, and we do what we said we would. Whether you're in Rodwell, Chickerell, Sutton Poyntz, Portesham or Langton Herring — if there's a damp patch that keeps winning, we'd like to meet it.
You may also find our guide on tackling mouldy ceilings and walls useful while you’re here, along with our Property Maintenance service page.
Every leak has a source. Finding it is part detective work, part experience.
Mark & the UIL team
Get In Touch
✨ Ready to bring your project to life? At Upcycle Interiors, we combine professionalism, trustworthiness, and reliability to deliver results you can count on.
Whether it's a small repair or a full renovation, we'll treat your home with the care and respect it deserves.
For fuss-free fixing and finishing, contact us on:
🌐 www.upcycleinteriors.co.uk/contact
📧 sales@upcycleinteriors.co.uk
📞 01305 584459
📍 Based in Weymouth and covering all of South Dorset including DT1, DT2 (part), DT3, DT4, DT5, DT6 (part). Please do get in touch here if your area is noton the list.
Upcycle Interiors Limited — professional, trustworthy, reliable.
4.9 ★★★★★ Across 450+ Reviews Over 9 Platforms — Ranked 4th Best In The UK
Licensed Waste Disposal: Certificate reg. no. CBDU400611
Full Protection: All Quotations backed by a contract
Warranty: Work protected by 1 yr. Defect Liability Period
All staff DBS checked, certificates available upon request
All work insured (up to 4 people) Axa policy No.TP1036224
A small 10% deposit secures your project in our pipeline
VAT No. 483072978
Company No. 11641998
