How To Tackle Mouldy Ceilings And Walls
Tackling mould step-by-step
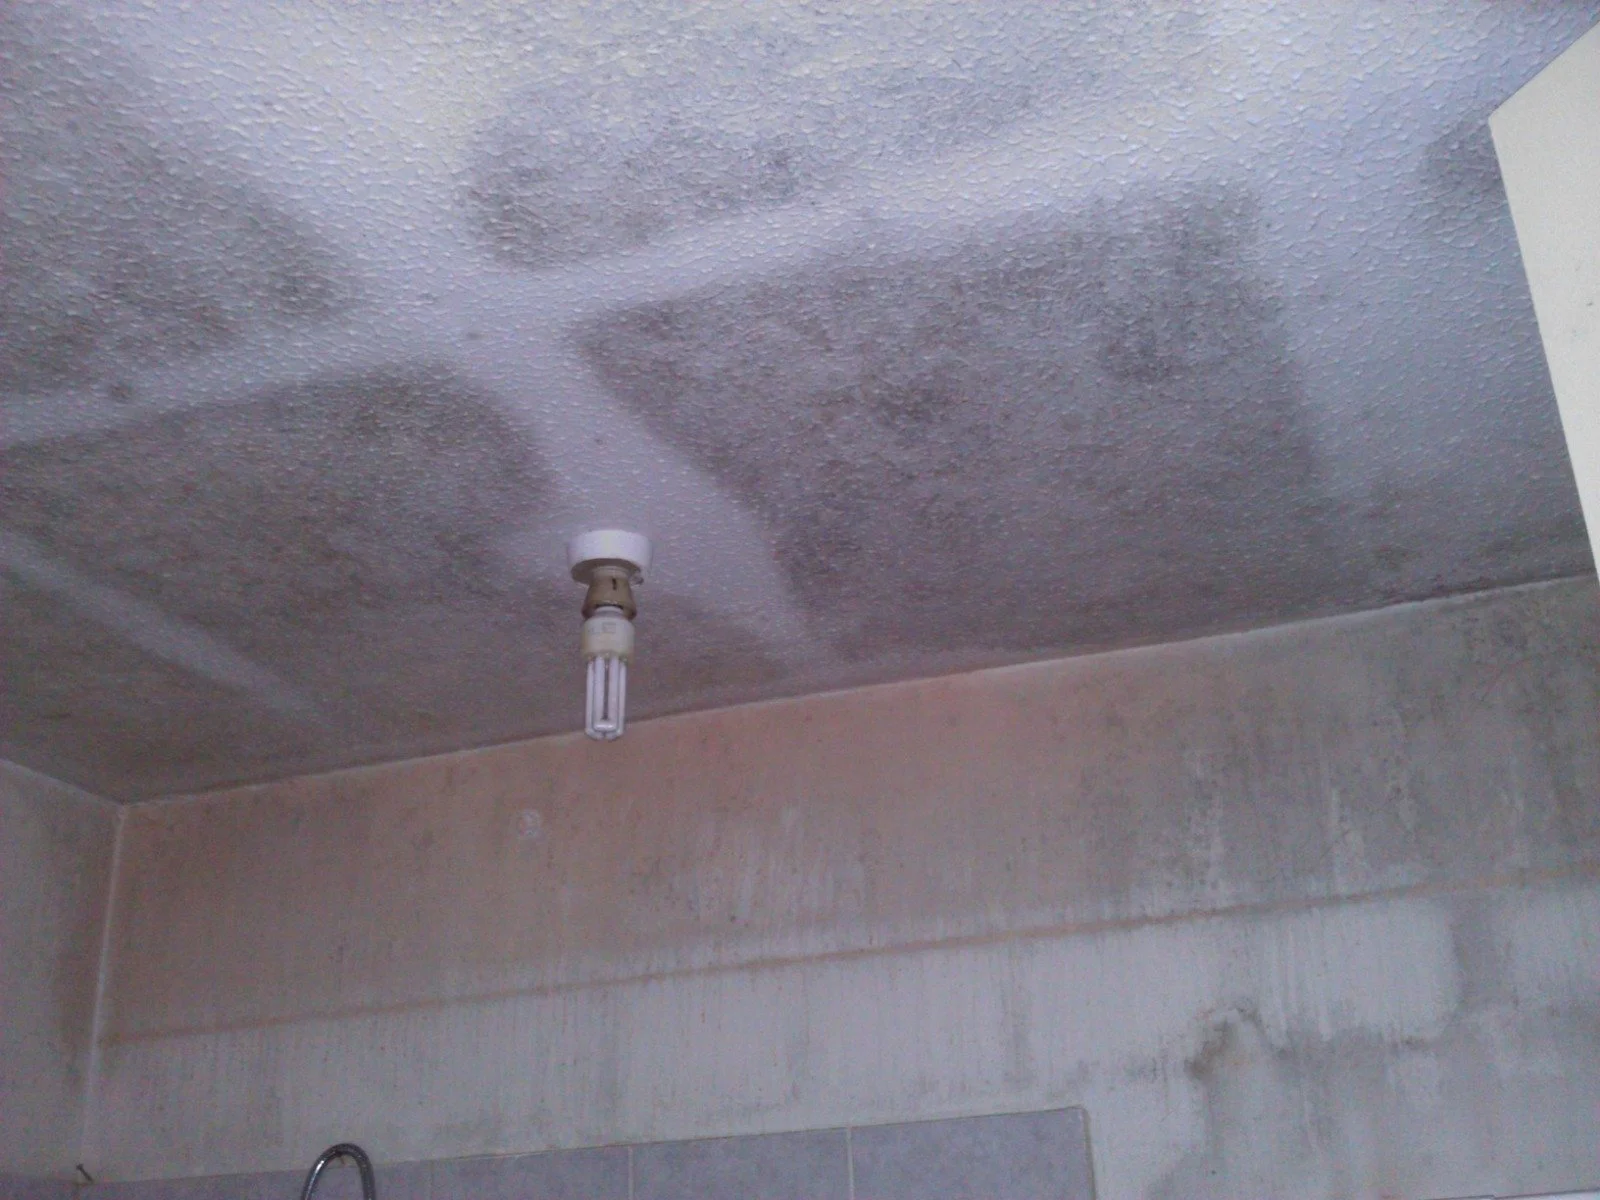
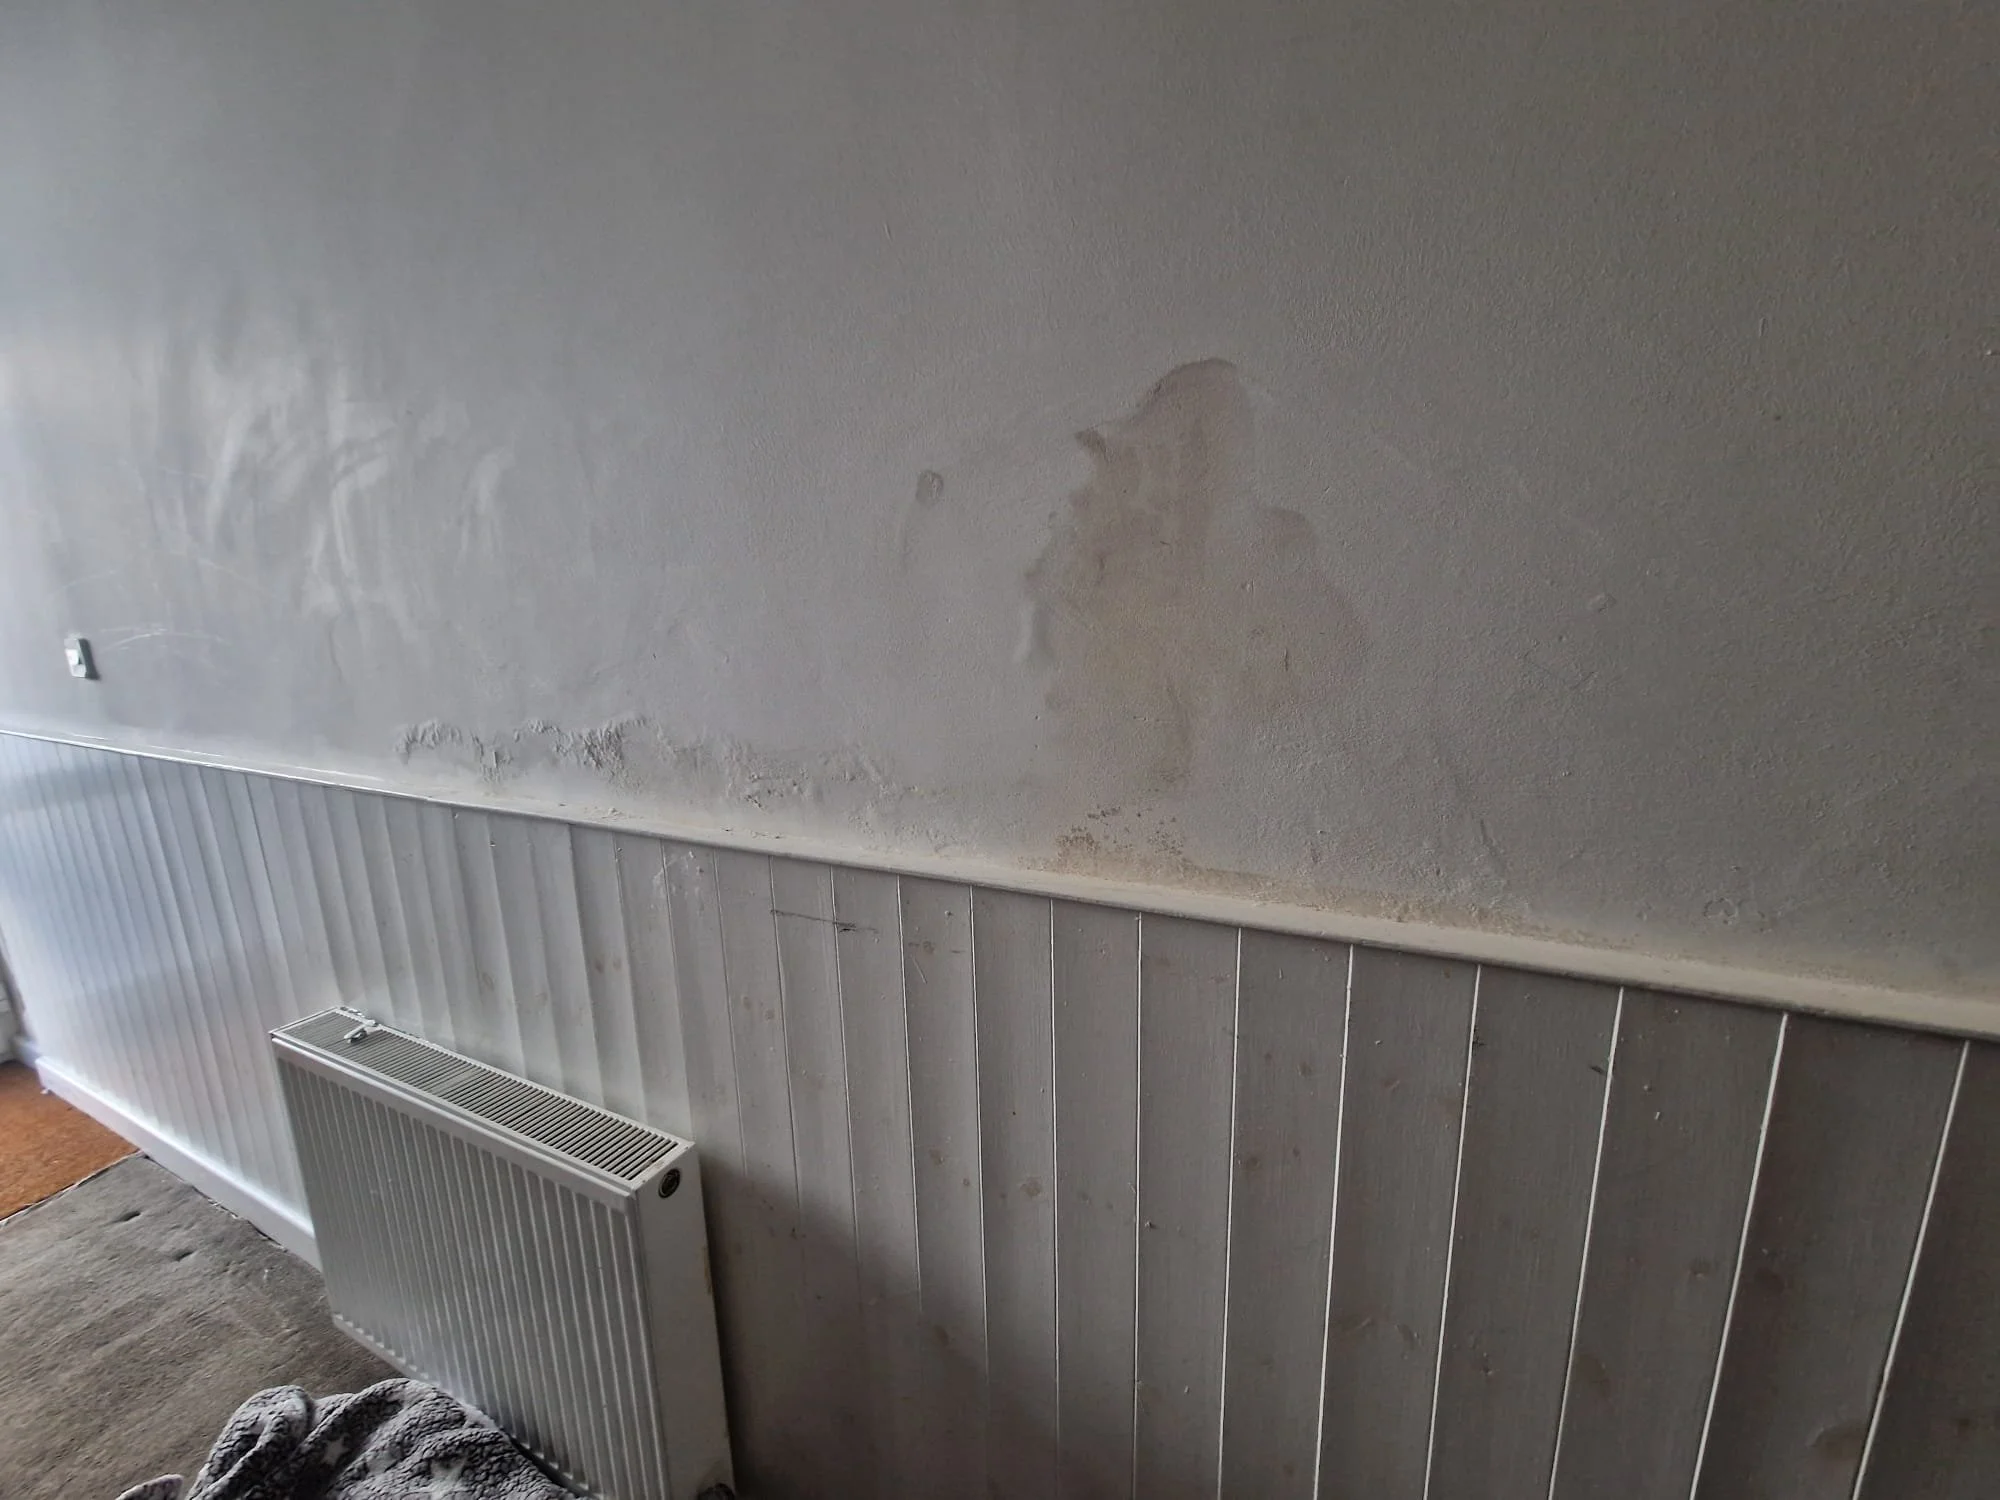
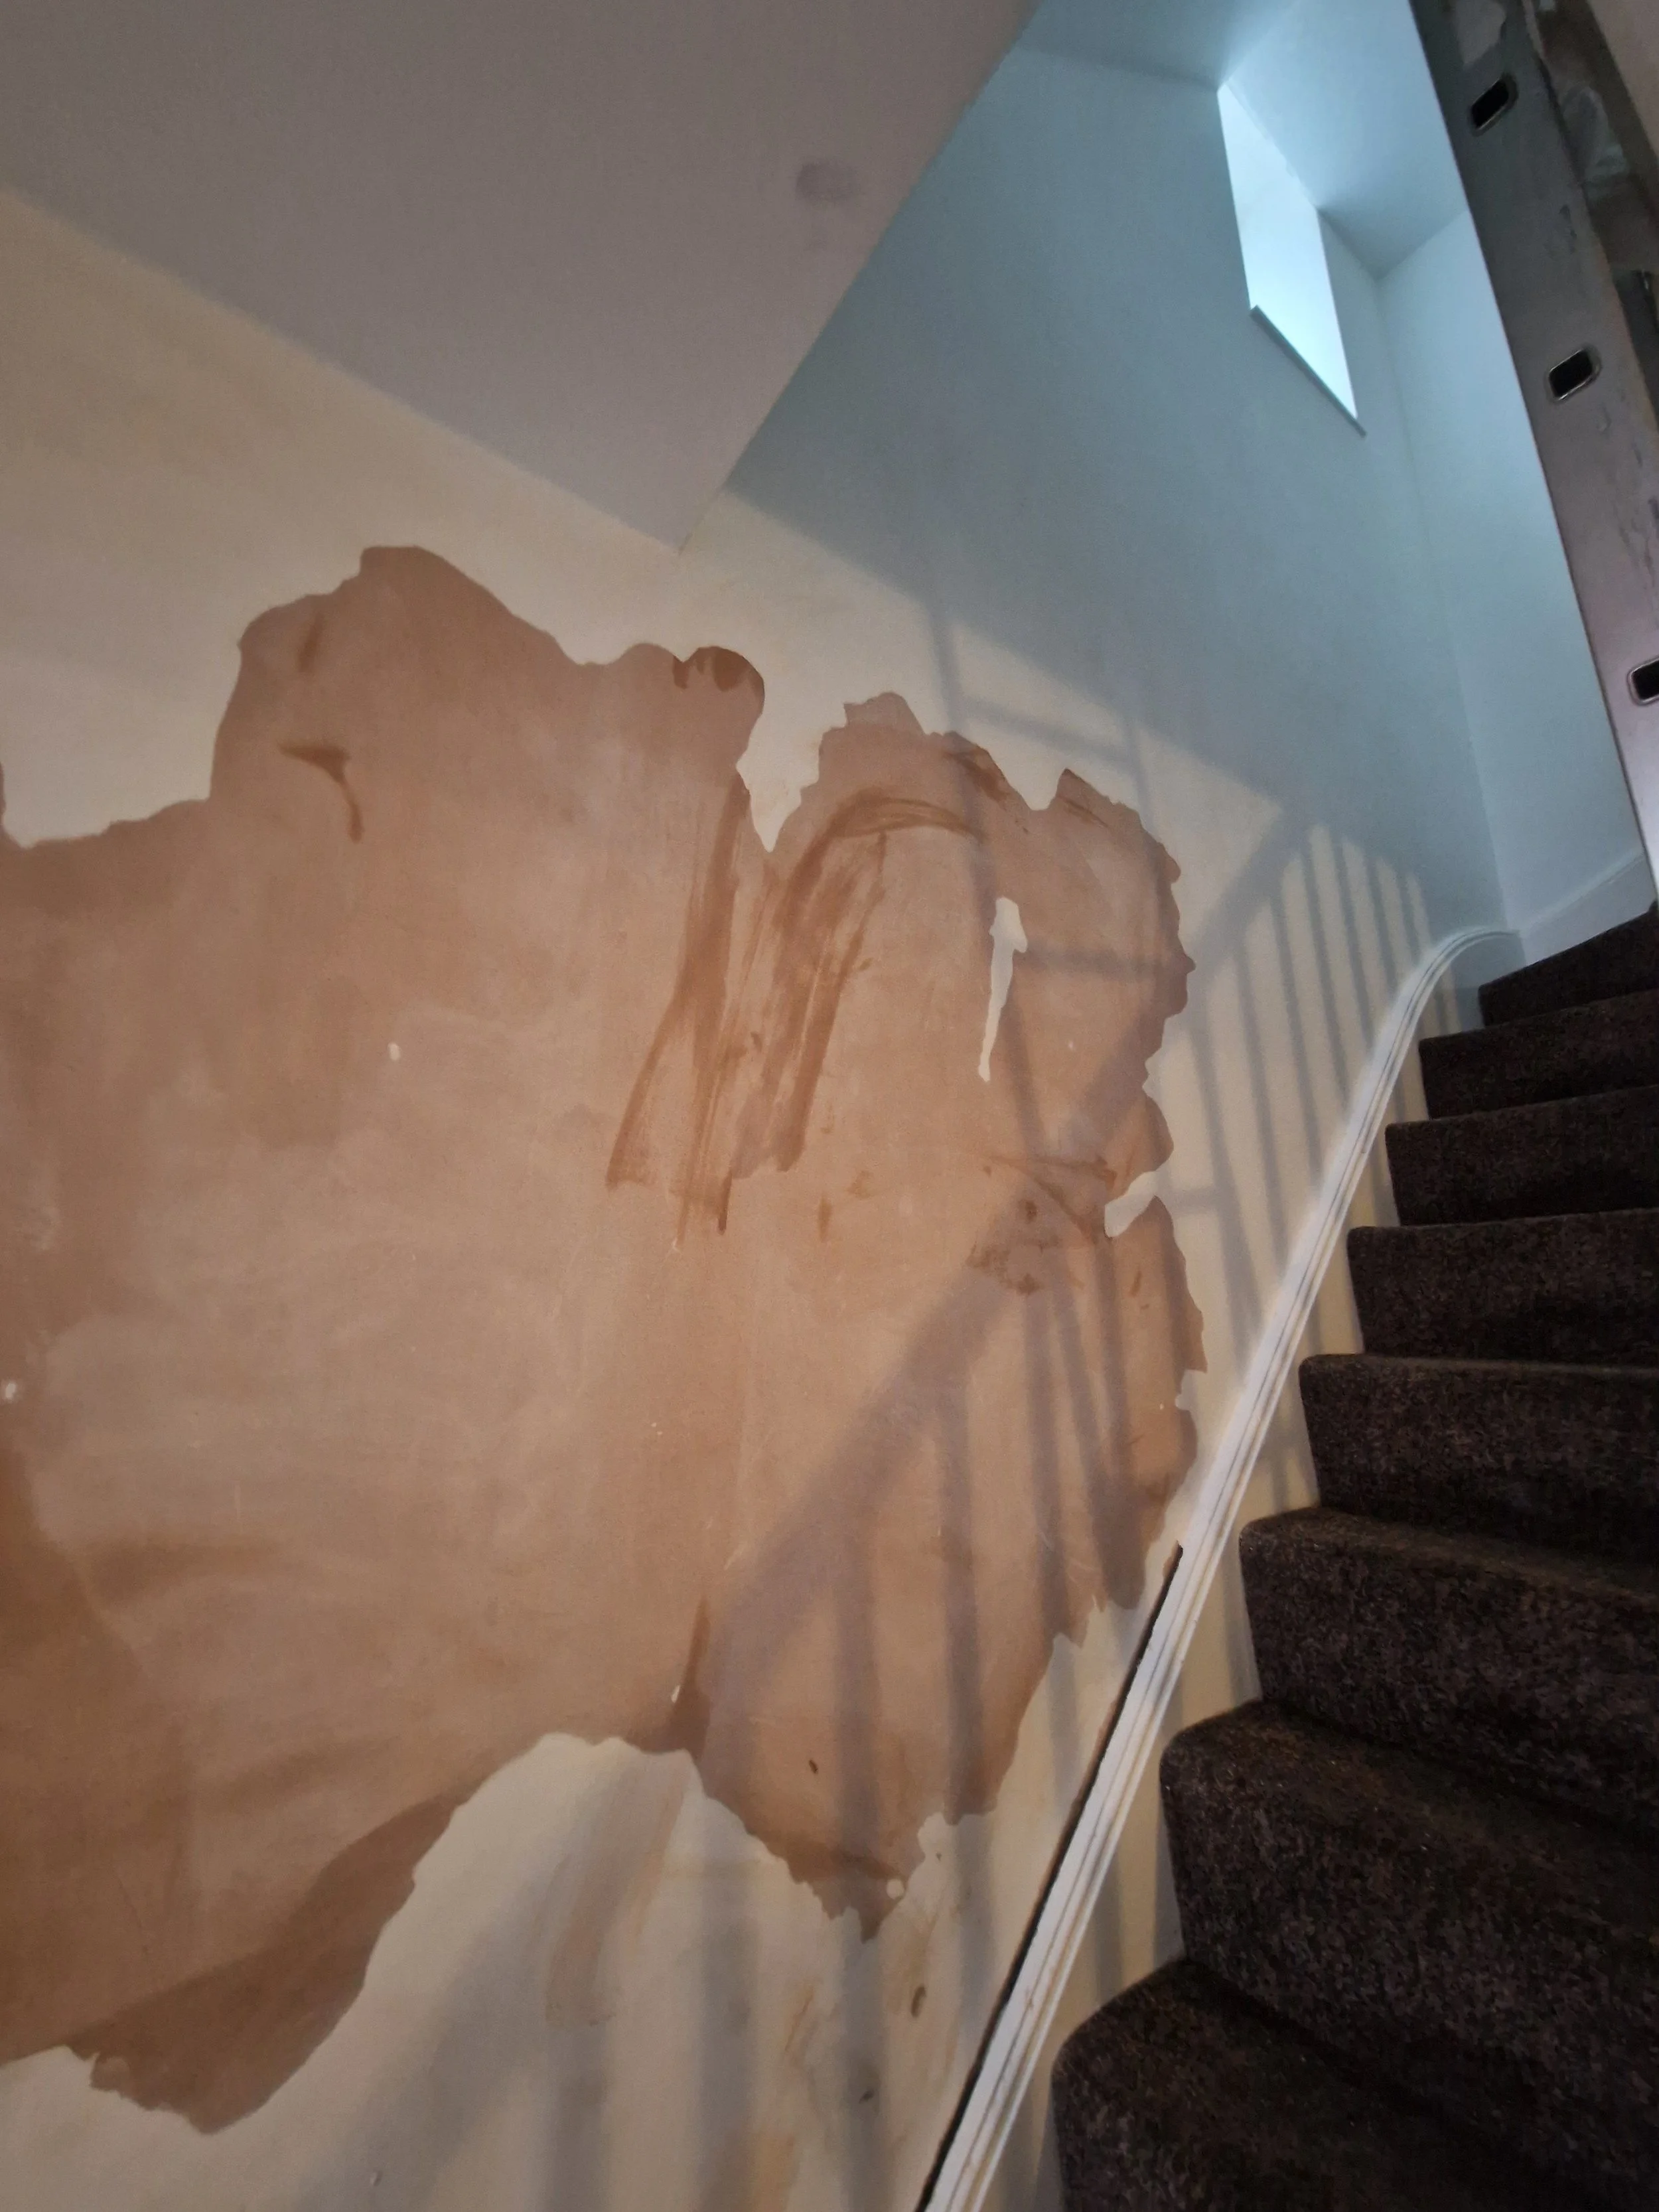
Mould is one of the most common problems we see in homes, especially in bathrooms, kitchens, utility rooms and other high-moisture areas. While it can be tempting to simply paint over the problem, lasting results come from using the right products and following the correct preparation process.
At Upcycle Interiors Ltd, we believe that preparation is everything. The difference between a quick cosmetic cover-up and a professional finish that lasts for years comes down to the products used and the care taken before a brush even touches the wall.
For more than six years, we have trusted Zinsser Perma-White as our go-to mould-resistant paint system. Designed specifically for areas exposed to high humidity and condensation, it provides a durable, scrubbable finish that stays looking fresh for up to seven years.
Its water-based formula contains only trace VOCs, making it a more environmentally conscious option, while still delivering excellent durability. It is touch dry in around 30 minutes and can typically be recoated after two hours, making it ideal for efficient turnaround times without compromising on quality.
Step 1: Preparing the Surface
Preparation is the most important part of any mould treatment process.
The affected surface should first be thoroughly cleaned using a suitable degreaser. Once cleaned, the area must be rinsed before applying a biocide treatment to kill any remaining mould spores. After the biocide has been applied, the surface should be rinsed again and allowed to dry fully.
Only once the mould has been properly treated should normal preparation begin. This may include:
Filling imperfections
Sanding surfaces smooth
Removing loose material
Dustless sanding where possible
After sanding, the area may need another wipe-down or rinse to remove any remaining dust before painting begins.
Skipping or rushing these stages often leads to mould returning prematurely, even when good-quality paint products are used.
Step 2: Priming the Surface
Once the surface is clean, dry and fully prepared, the next step is priming.
We typically recommend using either Zinsser B-I-N or Bullseye 1-2-3 primer, depending on the surface and environment. Primers help seal the substrate and create a strong bond for the topcoat, ensuring a more durable and professional finish.
B-I-N is an exceptional product for stain blocking and adhesion, although it can be quite messy to work with if handled incorrectly, so care and experience are important during application.
Most primers in this system can be recoated in approximately 45 minutes under normal conditions.
Step 3: Applying the Top Coat
Once the primer has cured, two coats of Zinsser Perma-White can be applied, allowing roughly two hours drying time between coats.
What makes Perma-White particularly effective is that it contains a built-in biocide designed to protect the paint film against fungal degradation. This helps prevent mould from returning while also providing a hard-wearing, scrubbable finish suitable for busy household environments.
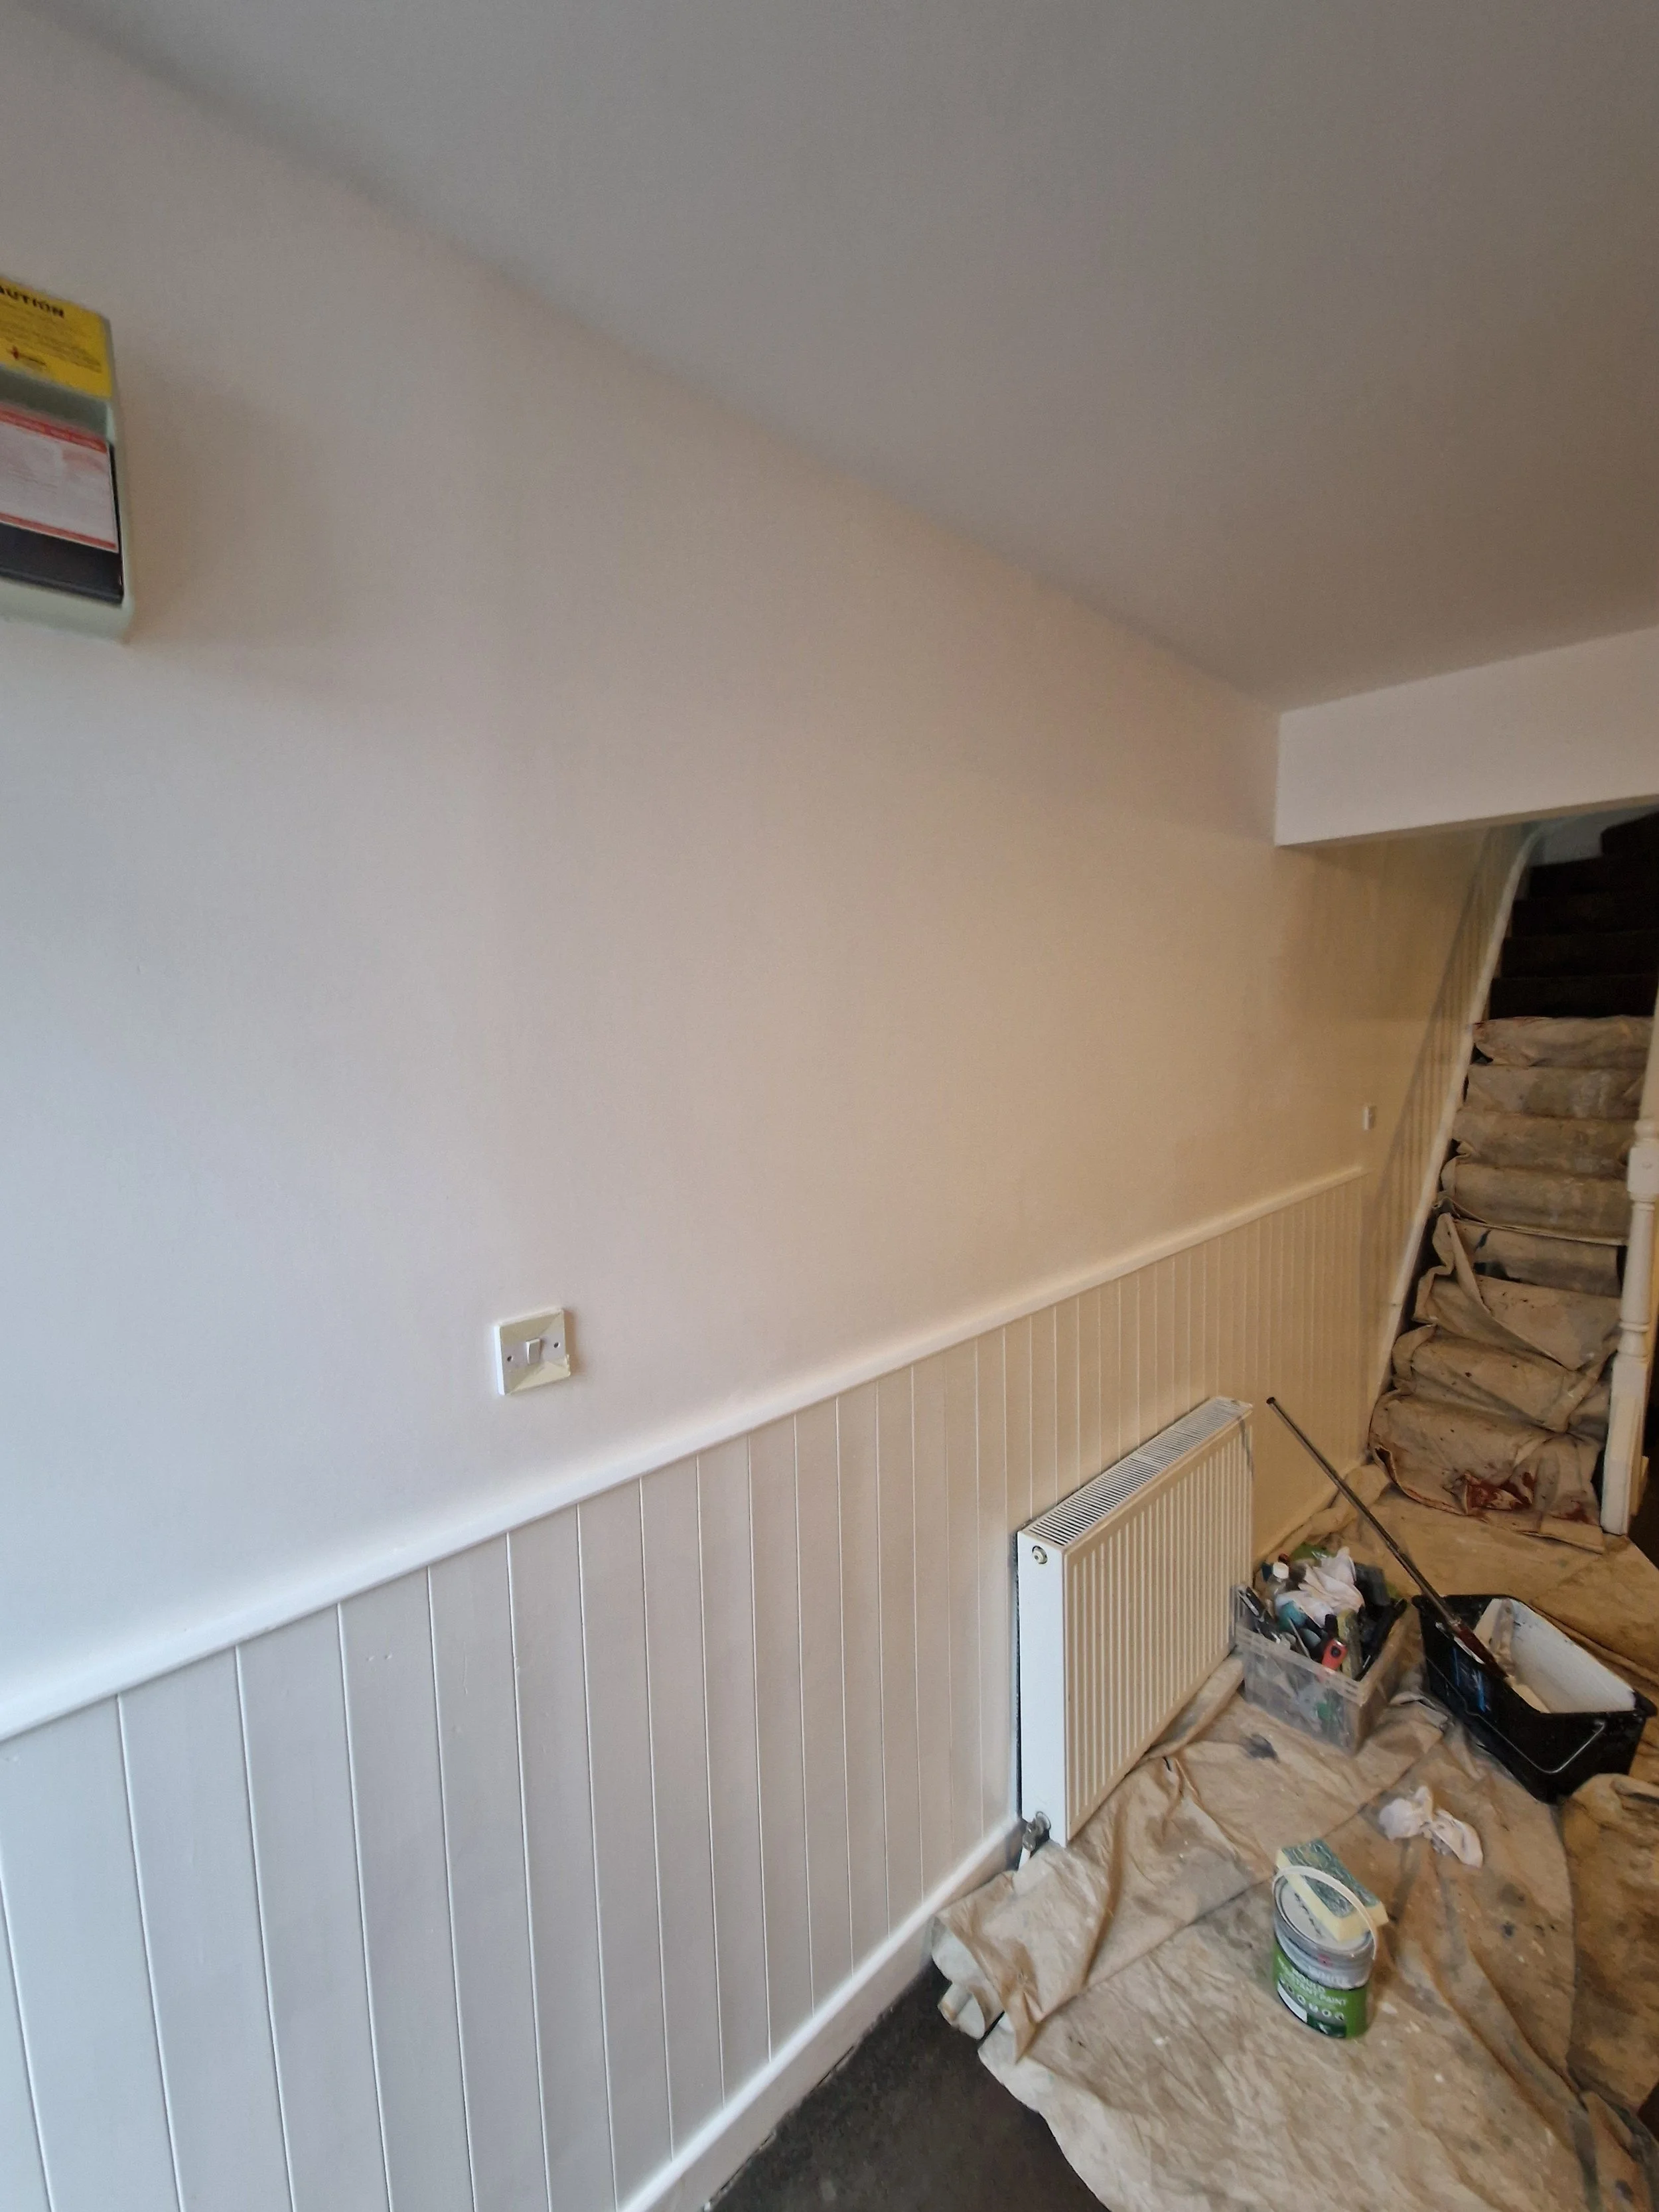
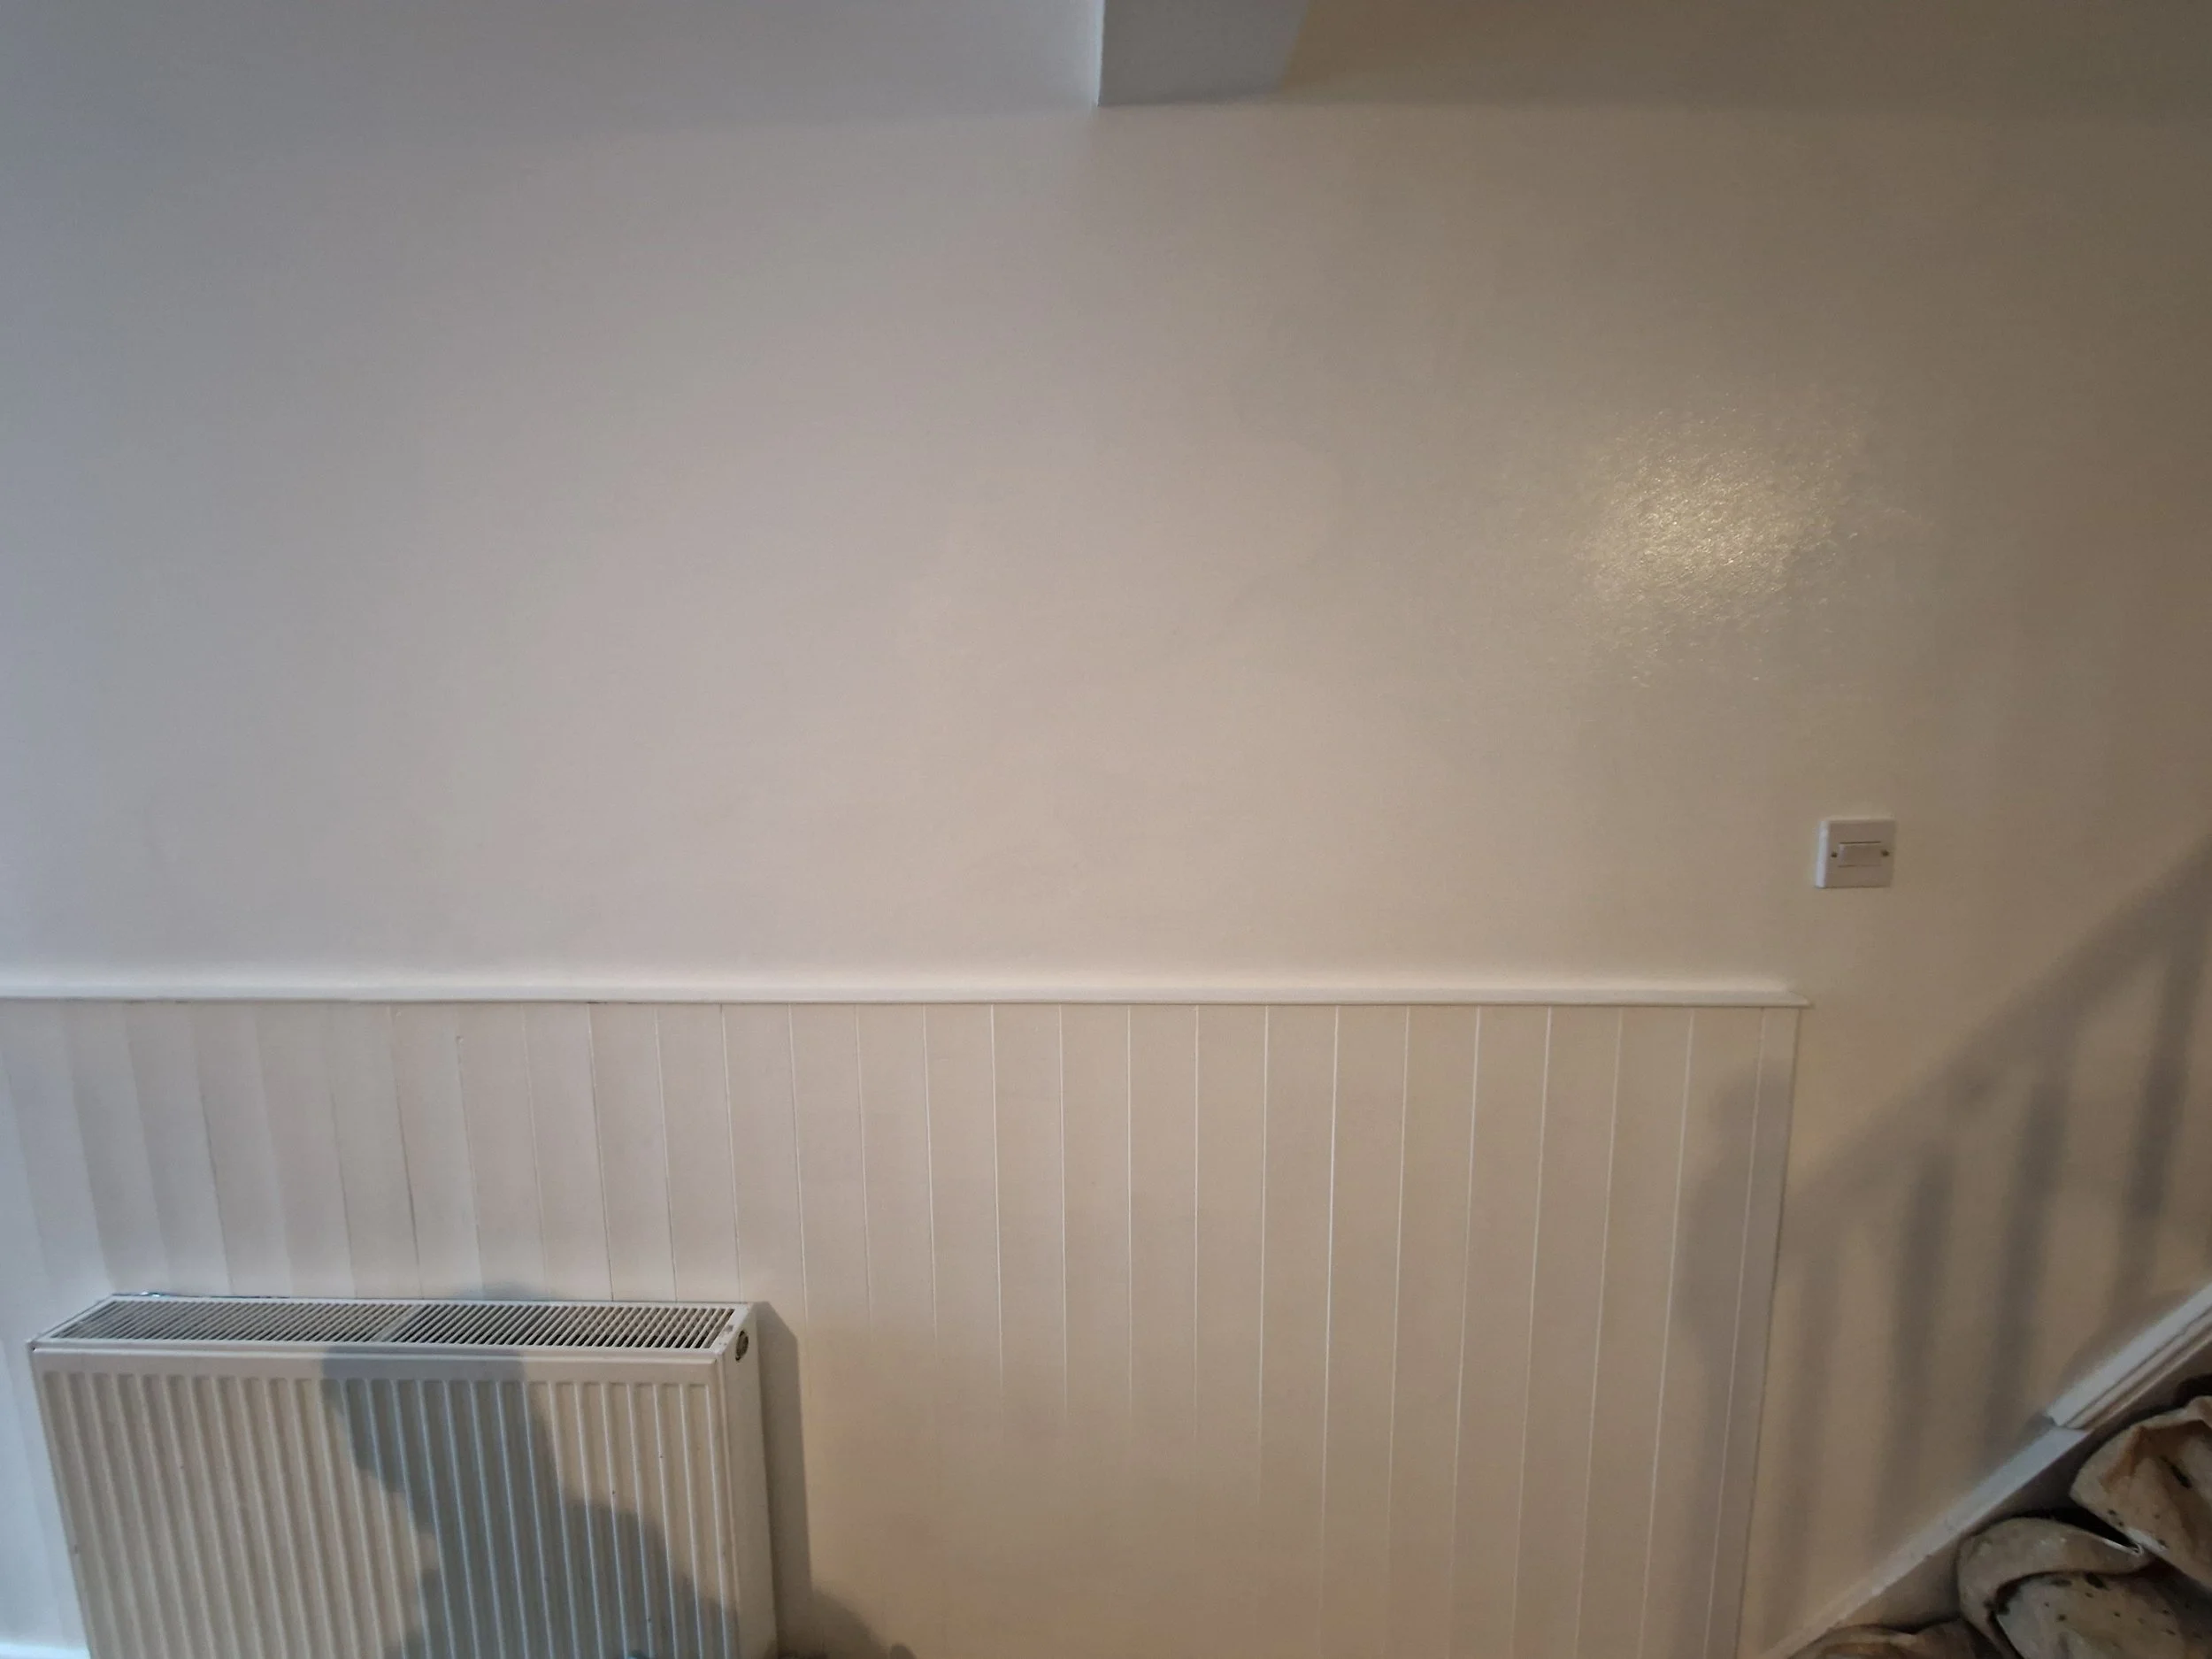
The end result is a cleaner, fresher surface designed to withstand the challenges of high-moisture spaces for years to come.
Why Proper Mould Treatment Matters
Painting over mould without properly treating the underlying issue is a short-term fix that rarely lasts. Using professional-grade products combined with thorough preparation helps ensure the problem is dealt with correctly the first time.
At Upcycle Interiors Ltd, we always focus on long-lasting solutions rather than temporary cover-ups, helping homeowners protect both the appearance and condition of their property.